Windows를 설치할 때 미리 원격 데스크톱을 활성화하면 설치 후 바로 원격으로 접속할 수 있어 편리합니다. 이를 위해 unattend.xml 파일을 활용하여 자동으로 원격 데스크톱을 설정하는 방법을 소개합니다.
1. 원격 데스크톱 설정 자동화
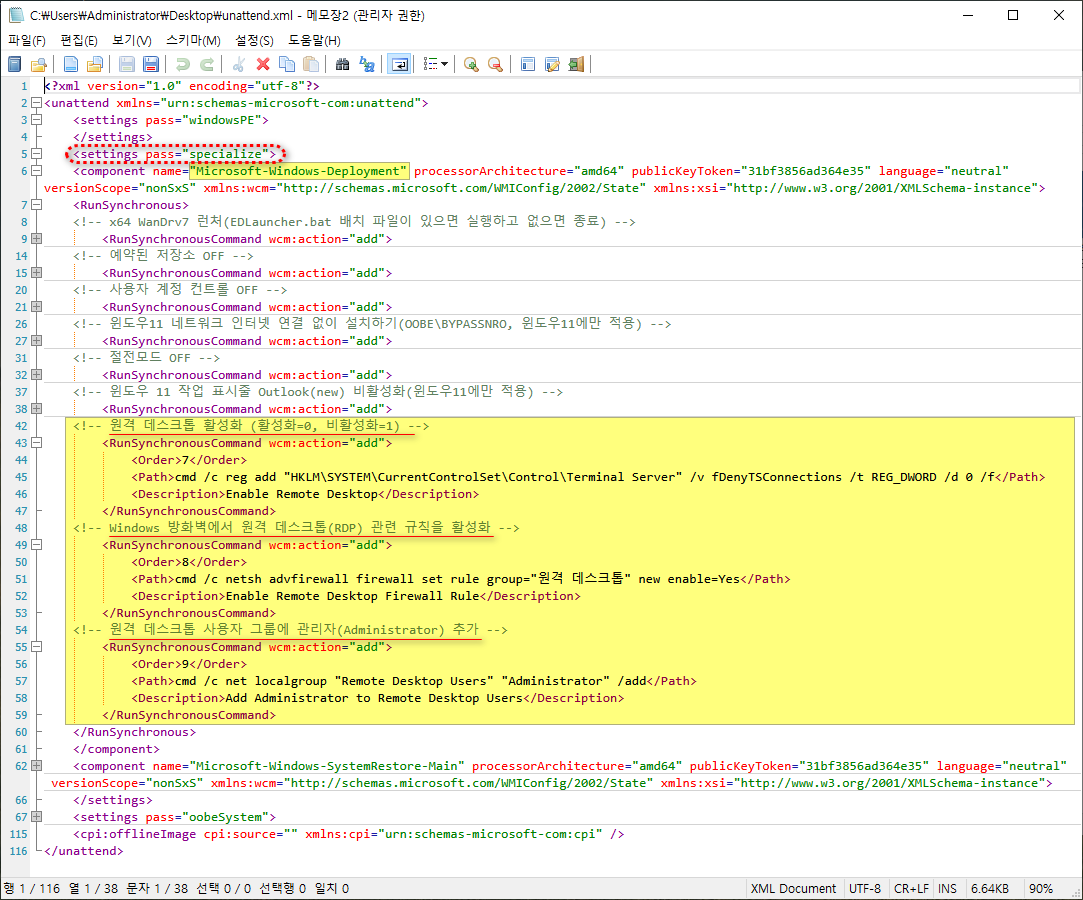
Windows 설치 중 원격 데스크톱을 자동으로 활성화하려면 unattend.xml 파일에 다음과 같은 설정을 추가해야 합니다.
1.1 원격 데스크톱 활성화 레지스트리 수정
<RunSynchronousCommand wcm:action="add">
    <Order>7</Order>
    <Path>cmd /c reg add "HKLM\SYSTEM\CurrentControlSet\Control\Terminal Server" /v fDenyTSConnections /t REG_DWORD /d 0 /f</Path>
    <Description>Enable Remote Desktop</Description>
</RunSynchronousCommand>
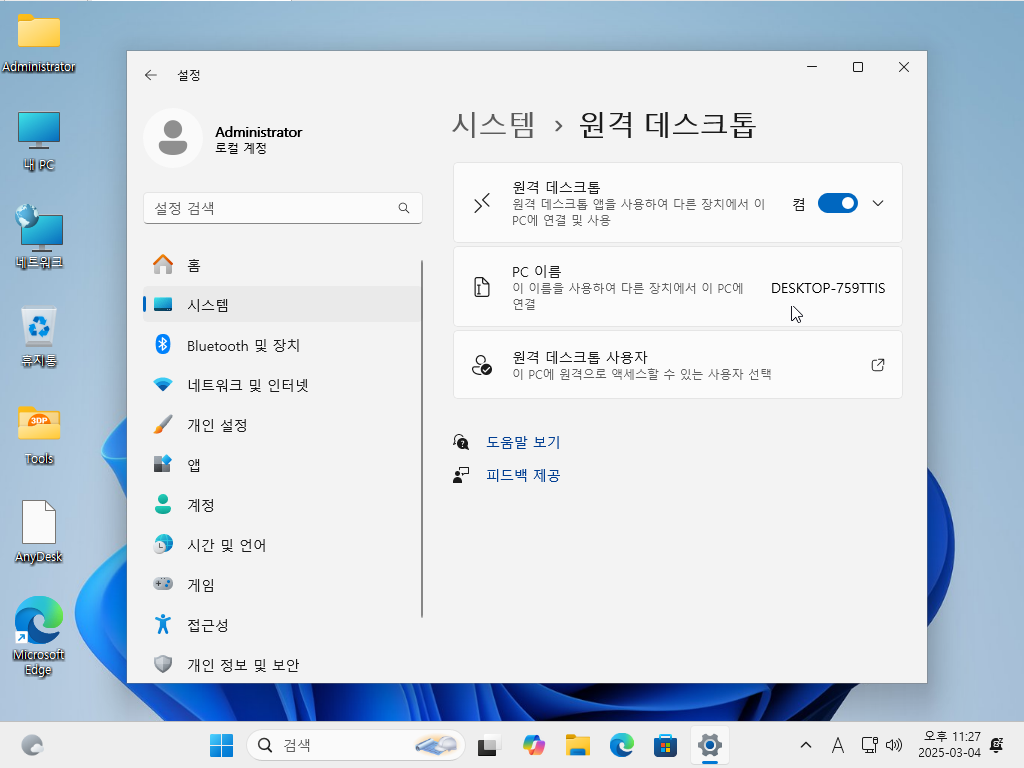
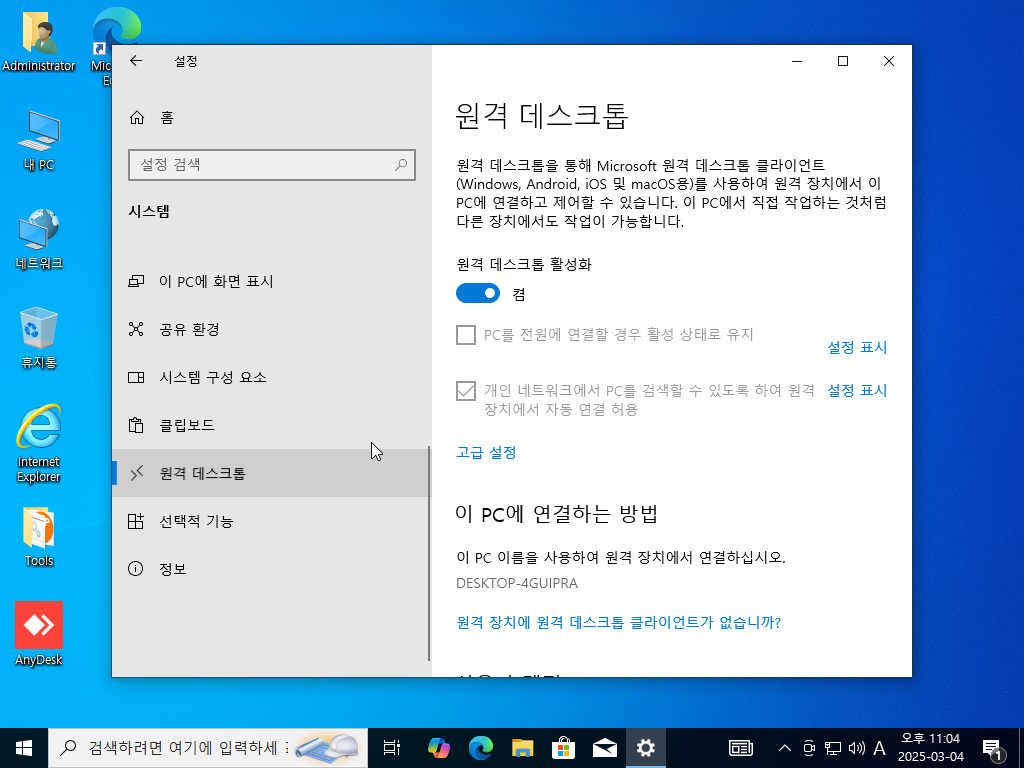
이 설정은 원격 데스크톱을 비활성화하는 기본 설정(fDenyTSConnections = 1)을 변경하여 활성화(fDenyTSConnections = 0)하는 역할을 합니다.
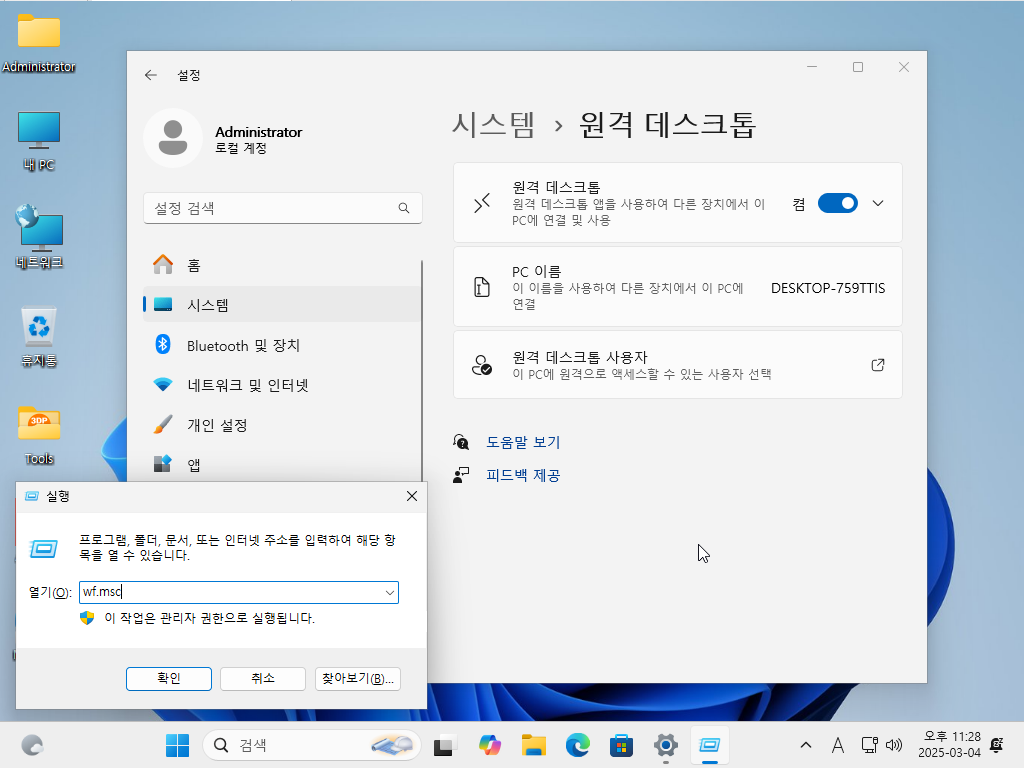
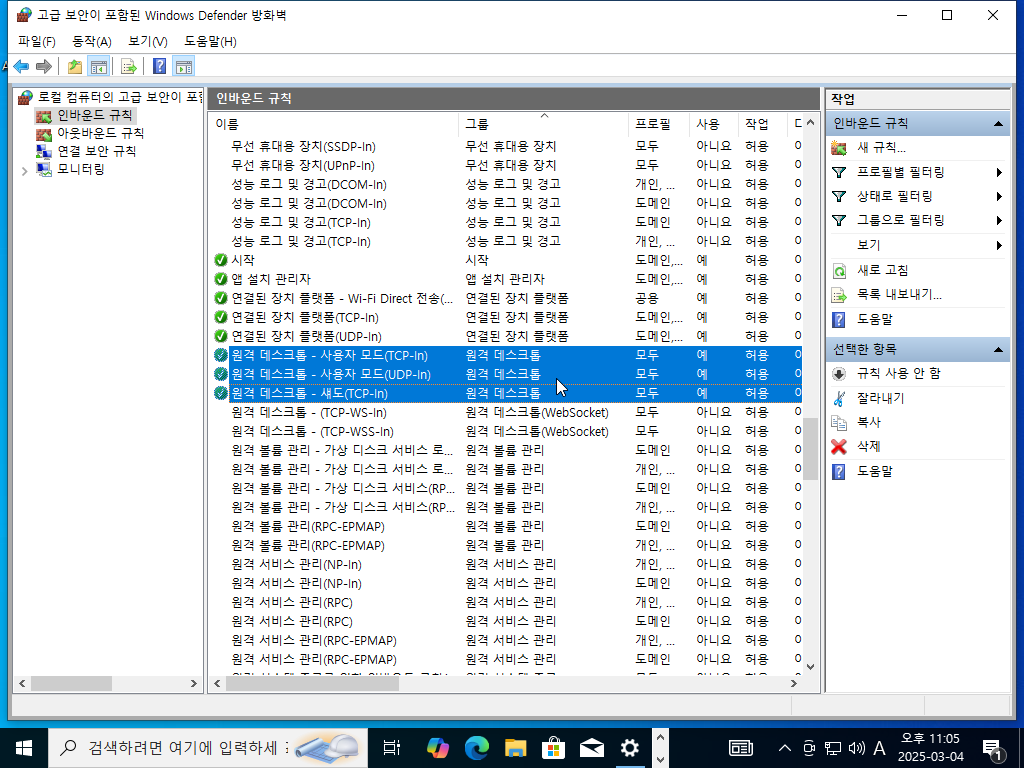
1.2 방화벽 규칙 추가
<RunSynchronousCommand wcm:action="add">
    <Order>8</Order>
    <Path>cmd /c netsh advfirewall firewall set rule group="원격 데스크톱" new enable=Yes</Path>
    <Description>Enable Remote Desktop Firewall Rule</Description>
</RunSynchronousCommand>
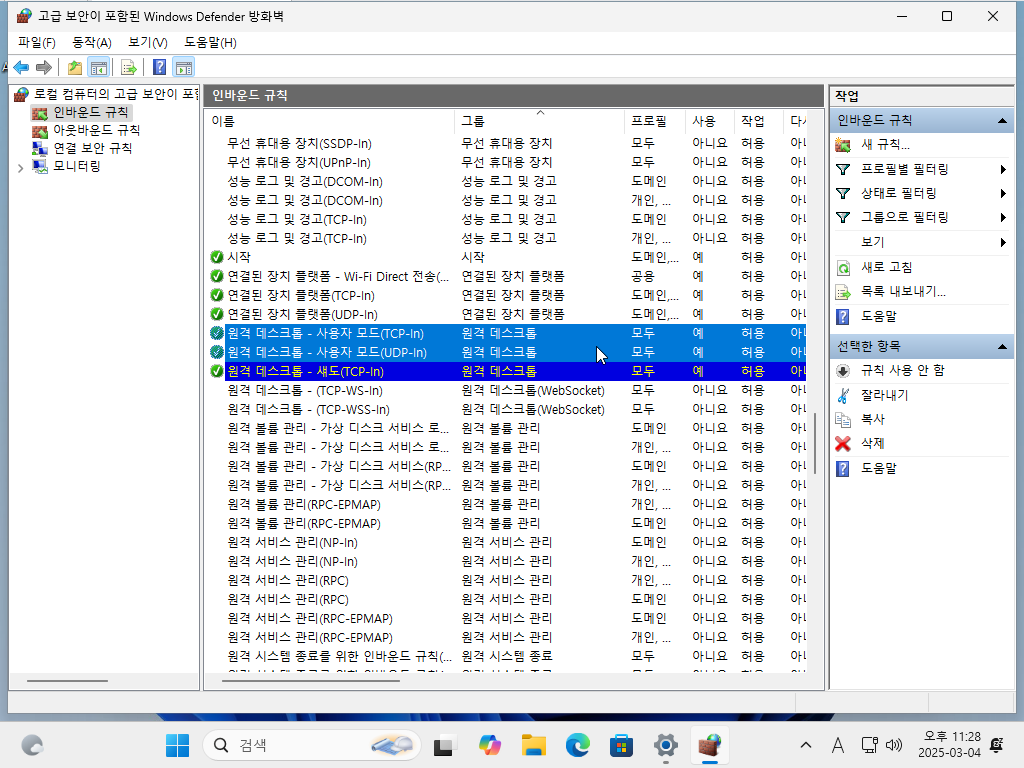
Windows 방화벽에서 원격 데스크톱 관련 규칙을 활성화하여 외부에서 RDP 연결이 차단되지 않도록 설정합니다.
1.3 원격 데스크톱 사용자 그룹에 관리자 추가
<RunSynchronousCommand wcm:action="add">
    <Order>9</Order>
    <Path>cmd /c net localgroup "Remote Desktop Users" "Administrator" /add</Path>
    <Description>Add Administrator to Remote Desktop Users</Description>
</RunSynchronousCommand>
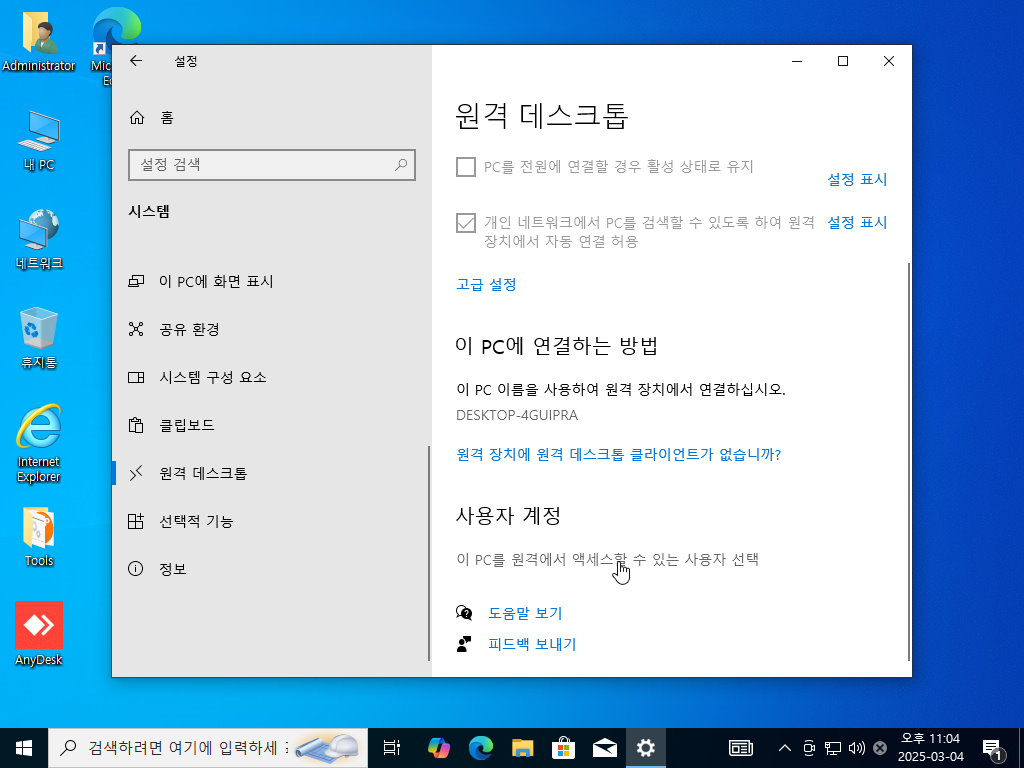
이 명령을 통해 Administrator 계정을 "Remote Desktop Users" 그룹에 추가하여 원격 접속 권한을 부여합니다.
2. unattend.xml 파일 적용 방법
2.1 unattend.xml 파일 위치
unattend.xml 파일은 Windows 설치 과정에서 자동으로 설정을 적용하기 위해 Windows 설치 USB 또는 ISO 내 다음 경로에 배치해야 합니다.
- 수정한 unattend.xml 파일을 sources\$OEM$\$1\Windows\Panther 경로에 배치하면 자동 응답 파일로 적용됩니다.
설치 중 unattend.xml이 감지되면 자동으로 설정이 적용됩니다.
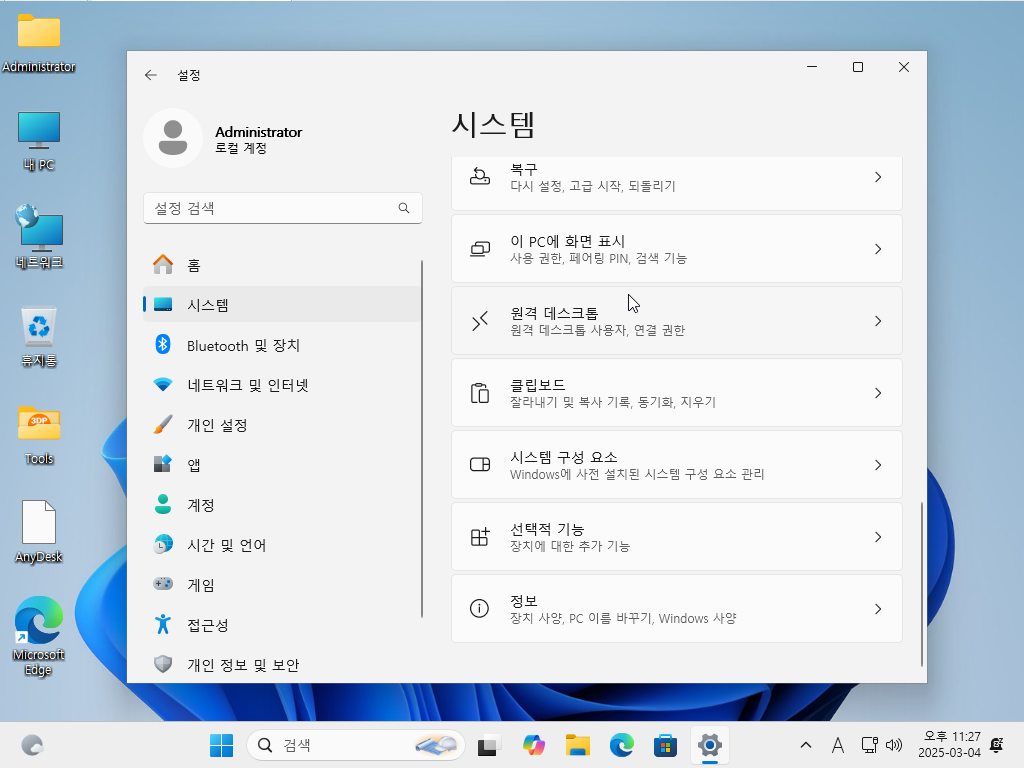
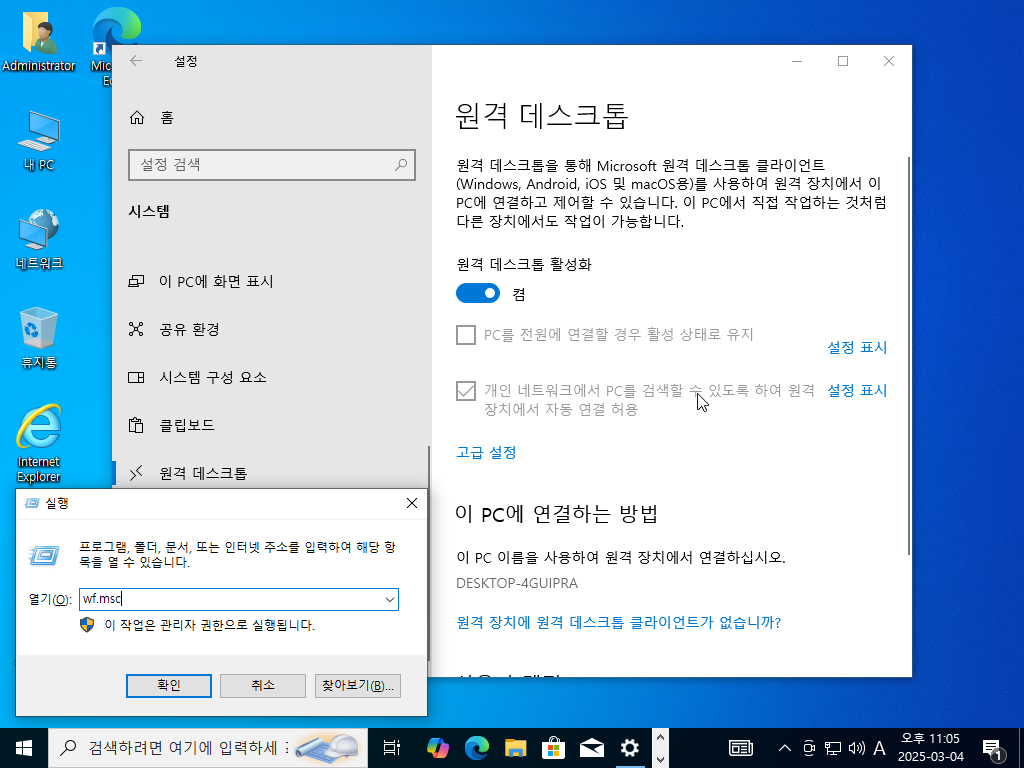
2.2 Windows 설치 후 원격 데스크톱 접속 확인
Windows 설치가 완료된 후 mstsc를 실행하여 설정한 PC의 IP 주소 또는 호스트 이름을 입력하면 원격 접속이 가능합니다.
3. 결론
이처럼 unattend.xml 파일을 활용하면 Windows 설치 과정에서 원격 데스크톱을 자동으로 활성화할 수 있습니다. 이를 통해 설치 직후 원격으로 시스템을 관리할 수 있어 편리하며, 방화벽 및 사용자 그룹 설정까지 자동화할 수 있습니다.
<?xml version="1.0" encoding="utf-8"?>
<unattend xmlns="urn:schemas-microsoft-com:unattend">
<settings pass="windowsPE">
</settings>
<settings pass="specialize">
<component name="Microsoft-Windows-Deployment" processorArchitecture="amd64" publicKeyToken="31bf3856ad364e35" language="neutral" versionScope="nonSxS" xmlns:wcm="http://schemas.microsoft.com/WMIConfig/2002/State" xmlns:xsi="http://www.w3.org/2001/XMLSchema-instance">
<RunSynchronous>
<!-- x64 WanDrv7 런처(EDLauncher.bat 배치 파일이 있으면 실행하고 없으면 종료) -->
<RunSynchronousCommand wcm:action="add">
<Order>1</Order>
<Path>cmd.exe /c if exist "%Windir%\Setup\Scripts\EDLauncher.bat" "%Windir%\Setup\Scripts\EDLauncher.bat"</Path>
<Description>Auto Driver Launcher</Description>
</RunSynchronousCommand>
<!-- 예약된 저장소 OFF -->
<RunSynchronousCommand wcm:action="add">
<Order>2</Order>
<Path>cmd /c reg add HKLM\Software\Microsoft\Windows\CurrentVersion\ReserveManager /v ShippedWithReserves /t reg_dword /d 0 /f</Path>
<Description>Remove Reserved Storagespace</Description>
</RunSynchronousCommand>
<!-- 사용자 계정 컨트롤 OFF -->
<RunSynchronousCommand wcm:action="add">
<Order>3</Order>
<Path>cmd /c reg ADD HKLM\SOFTWARE\Microsoft\Windows\CurrentVersion\Policies\System /v EnableLUA /t REG_DWORD /d 0 /f</Path>
<Description>DisableLUA</Description>
</RunSynchronousCommand>
<!-- 윈도우11 네트워크 인터넷 연결 없이 설치하기(OOBE\BYPASSNRO, 윈도우11에만 적용) -->
<RunSynchronousCommand wcm:action="add">
<Order>4</Order>
<Path>cmd /c for /f "tokens=3 delims=.]" %a in ('ver') do if %a geq 21996 (reg add "HKLM\SOFTWARE\Microsoft\Windows\CurrentVersion\OOBE" /v BypassNRO /t REG_DWORD /d 1 /f)</Path>
</RunSynchronousCommand>
<!-- Windows OOBE 동안 업데이트를 방지하기 위해 모든 네트워크 어댑터를 일시적으로 비활성화합니다. -->
<RunSynchronousCommand wcm:action="add">
<Order>5</Order>
<Path>powershell.exe -NoProfile -WindowStyle Hidden -ExecutionPolicy Bypass -Command "Get-NetAdapter | Disable-NetAdapter -Confirm:$false"</Path>
</RunSynchronousCommand>
<!-- 절전모드 OFF -->
<RunSynchronousCommand wcm:action="add">
<Order>6</Order>
<Path>cmd /c powercfg -h off</Path>
<Description>Powercfg Hybernate Off</Description>
</RunSynchronousCommand>
<!-- 윈도우 11 작업 표시줄 Outlook(new) 비활성화(윈도우11에만 적용) -->
<RunSynchronousCommand wcm:action="add">
<Order>7</Order>
<Path>cmd /c for /f "tokens=3 delims=.]" %a in ('ver') do if %a geq 21996 (reg add "HKLM\SOFTWARE\Policies\Microsoft\Windows\CloudContent" /v "DisableCloudOptimizedContent" /t REG_DWORD /d "1" /f)</Path>
</RunSynchronousCommand>
<!-- 원격 데스크톱 활성화 (활성화=0, 비활성화=1) -->
<RunSynchronousCommand wcm:action="add">
<Order>8</Order>
<Path>cmd /c reg add "HKLM\SYSTEM\CurrentControlSet\Control\Terminal Server" /v fDenyTSConnections /t REG_DWORD /d 0 /f</Path>
<Description>Enable Remote Desktop</Description>
</RunSynchronousCommand>
<!-- Windows 방화벽에서 원격 데스크톱(RDP) 관련 규칙을 활성화 -->
<RunSynchronousCommand wcm:action="add">
<Order>9</Order>
<Path>cmd /c netsh advfirewall firewall set rule group="원격 데스크톱" new enable=Yes</Path>
<Description>Enable Remote Desktop Firewall Rule</Description>
</RunSynchronousCommand>
<!-- 원격 데스크톱 사용자 그룹에 관리자(Administrator) 추가 -->
<RunSynchronousCommand wcm:action="add">
<Order>10</Order>
<Path>cmd /c net localgroup "Remote Desktop Users" "Administrator" /add</Path>
<Description>Add Administrator to Remote Desktop Users</Description>
</RunSynchronousCommand>
</RunSynchronous>
</component>
</settings>
<settings pass="oobeSystem">
<component name="Microsoft-Windows-Shell-Setup" processorArchitecture="amd64" publicKeyToken="31bf3856ad364e35" language="neutral" versionScope="nonSxS" xmlns:wcm="http://schemas.microsoft.com/WMIConfig/2002/State" xmlns:xsi="http://www.w3.org/2001/XMLSchema-instance">
<!-- OOBE 무인 설정(자동화) -->
<OOBE>
<!-- Windows 시작의 Microsoft 소프트웨어 사용 조건 페이지를 숨길지 여부를 지정합니다. true=숨김 -->
<HideEULAPage>true</HideEULAPage>
<!-- OOBE 중에 OEM 등록 페이지가 표시되는지 여부를 지정합니다. true=숨김 -->
<HideOEMRegistrationScreen>true</HideOEMRegistrationScreen>
<!-- 사용자가 OOBE 중에 로그인해야 하는지 여부를 지정합니다. true=숨김 -->
<HideOnlineAccountScreens>true</HideOnlineAccountScreens>
<!-- Windows 시작 중에 나타나는 무선 네트워크 연결 화면을 숨길지 여부를 지정합니다. true=숨김 -->
<HideWirelessSetupInOOBE>true</HideWirelessSetupInOOBE>
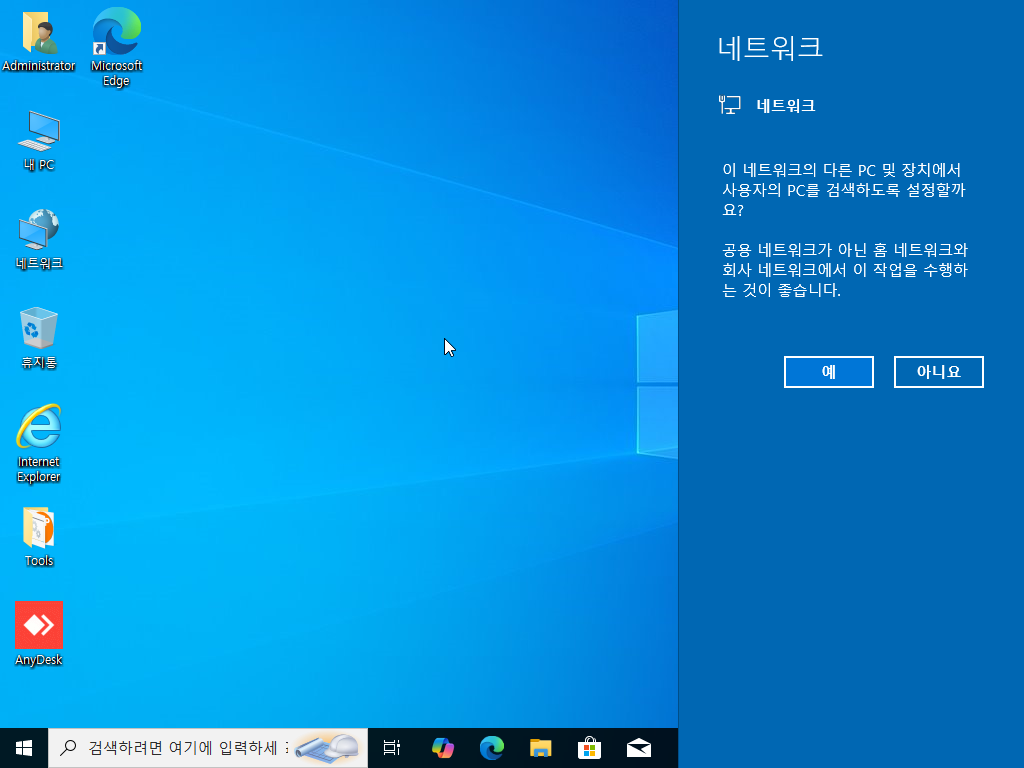
<!-- 사용자가 처음 로그온할 때 컴퓨터가 네트워크에 연결된 경우 네트워크의 위치를 지정합니다. -->
<NetworkLocation>Work</NetworkLocation>
<!-- 보안 업데이트와 사용자 계정 컨트롤을 모두 활성화. -->
<ProtectYourPC>3</ProtectYourPC>
<SkipMachineOOBE>true</SkipMachineOOBE>
<SkipUserOOBE>true</SkipUserOOBE>
</OOBE>
<!-- 관리자(Administrator) 계정으로 자동 로그인 -->
<AutoLogon>
<Enabled>true</Enabled>
<LogonCount>1</LogonCount>
<Username>Administrator</Username>
</AutoLogon>
<!-- 사용자가 컴퓨터에 처음으로 로그온할 때 실행할 명령을 지정합니다. -->
<FirstLogonCommands>
<!-- 모든 계정 암호 만료기간 제한 없음 -->
<SynchronousCommand wcm:action="add">
<RequiresUserInput>false</RequiresUserInput>
<Order>1</Order>
<Description>UserAccount</Description>
<CommandLine>cmd /c wmic UserAccount set PasswordExpires=False</CommandLine>
</SynchronousCommand>
<!-- OOBE 완료 후 네트워크 어댑터를 활성화합니다. -->
<SynchronousCommand wcm:action="add">
<Order>2</Order>
<CommandLine>powershell.exe -NoProfile -WindowStyle Hidden -ExecutionPolicy Bypass -Command "Get-NetAdapter | Enable-NetAdapter -Confirm:$false"</CommandLine>
</SynchronousCommand>
</FirstLogonCommands>
<!-- 해상도 설정 -->
<Display>
<HorizontalResolution>1024</HorizontalResolution>
<VerticalResolution>768</VerticalResolution>
<ColorDepth>32</ColorDepth>
</Display>
</component>
</settings>
<cpi:offlineImage cpi:source="" xmlns:cpi="urn:schemas-microsoft-com:cpi" />
</unattend>

윈도우 11 원격 데스크톱 활성화 설치 - 움짤 GIF

윈도우 10 원격 데스크톱 활성화 설치 - 움짤 GIF
'무인설치 응답파일(unattend.xml)' 카테고리의 다른 글
| 무인설치 응답파일 autounattend.xml vs unattend.xml 차이점 (0) | 2025.03.21 |
|---|---|
| 윈도우 무인 설치(unattend.xml) 응답 파일 설정 가이드 (6) | 2025.03.18 |
| 윈도우 11, 10 설치 시 시스템 복원 활성화 하기 (0) | 2025.03.04 |
| 윈도우 11 인터넷 연결 없이 설치하기 (0) | 2025.03.03 |
| [EN] Windows 11 24H2 Previous Version Setup autounattend.xml (0) | 2025.03.02 |