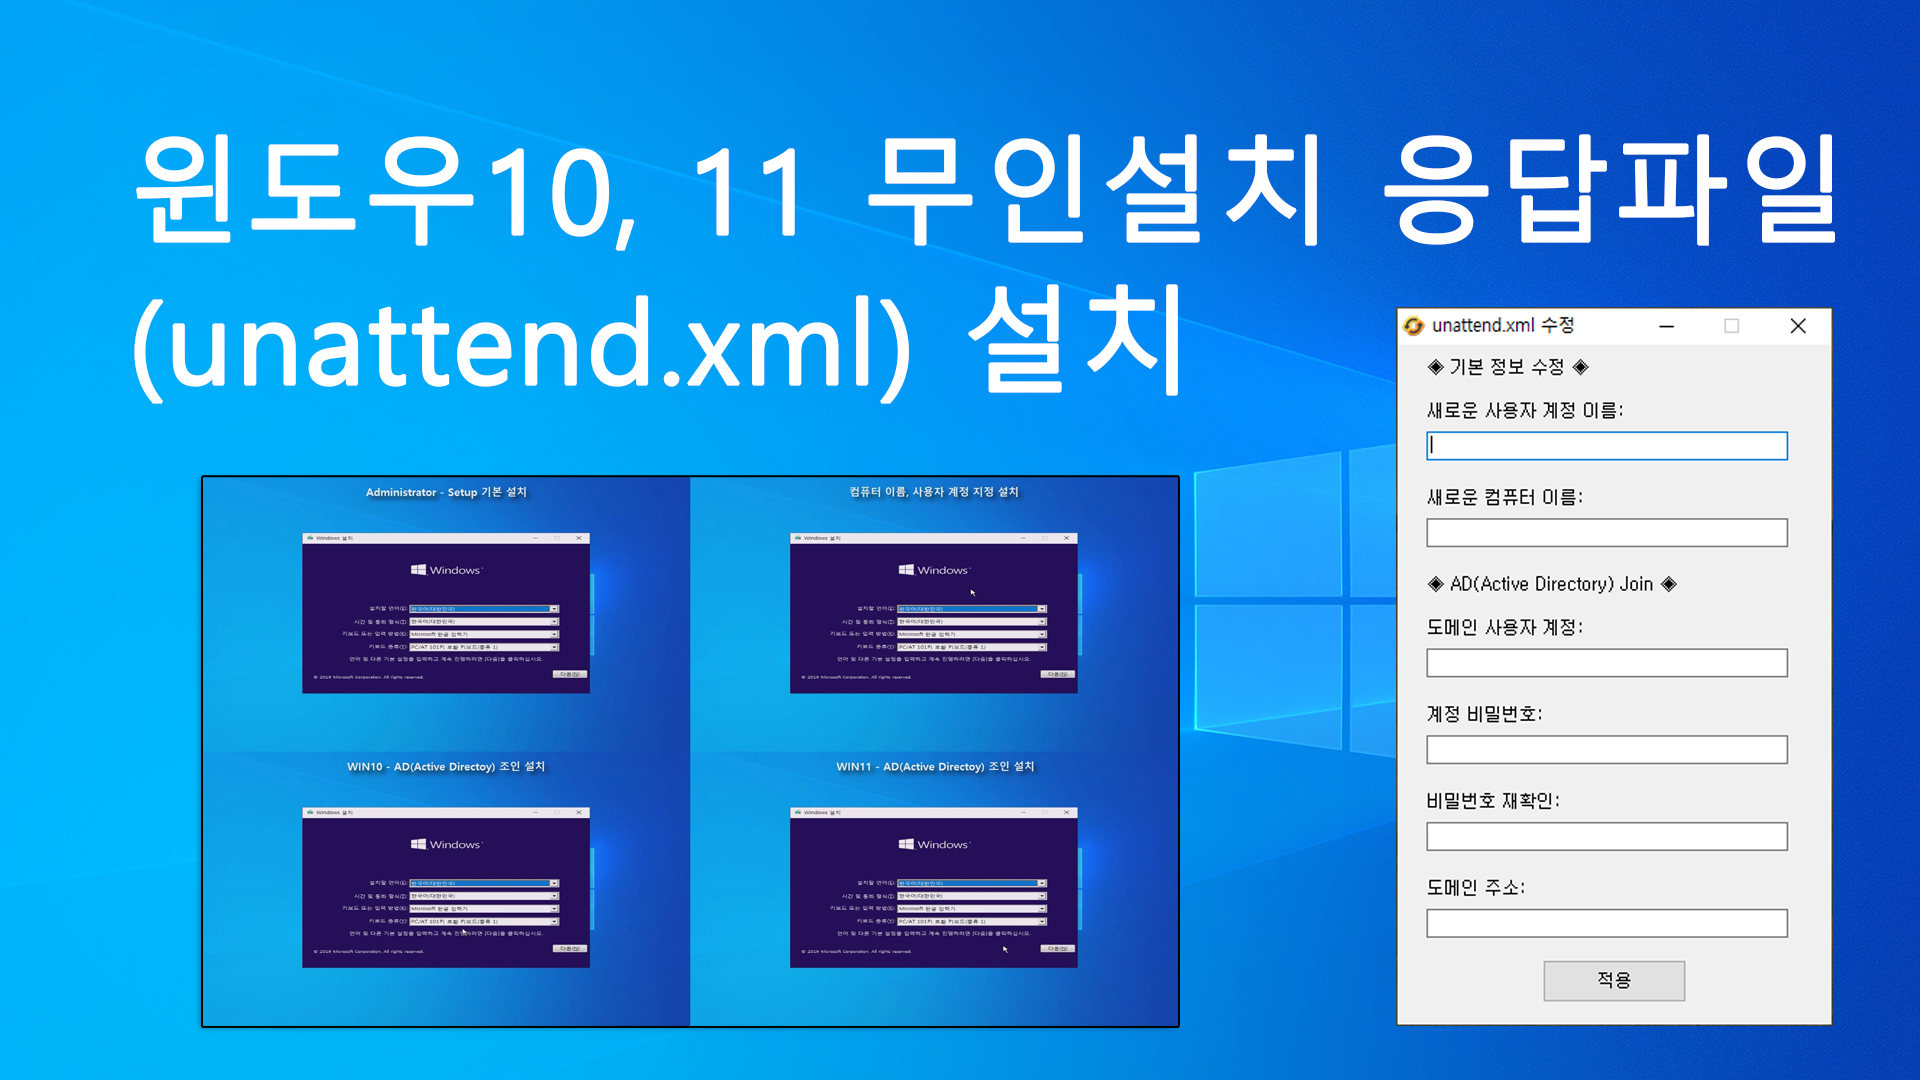
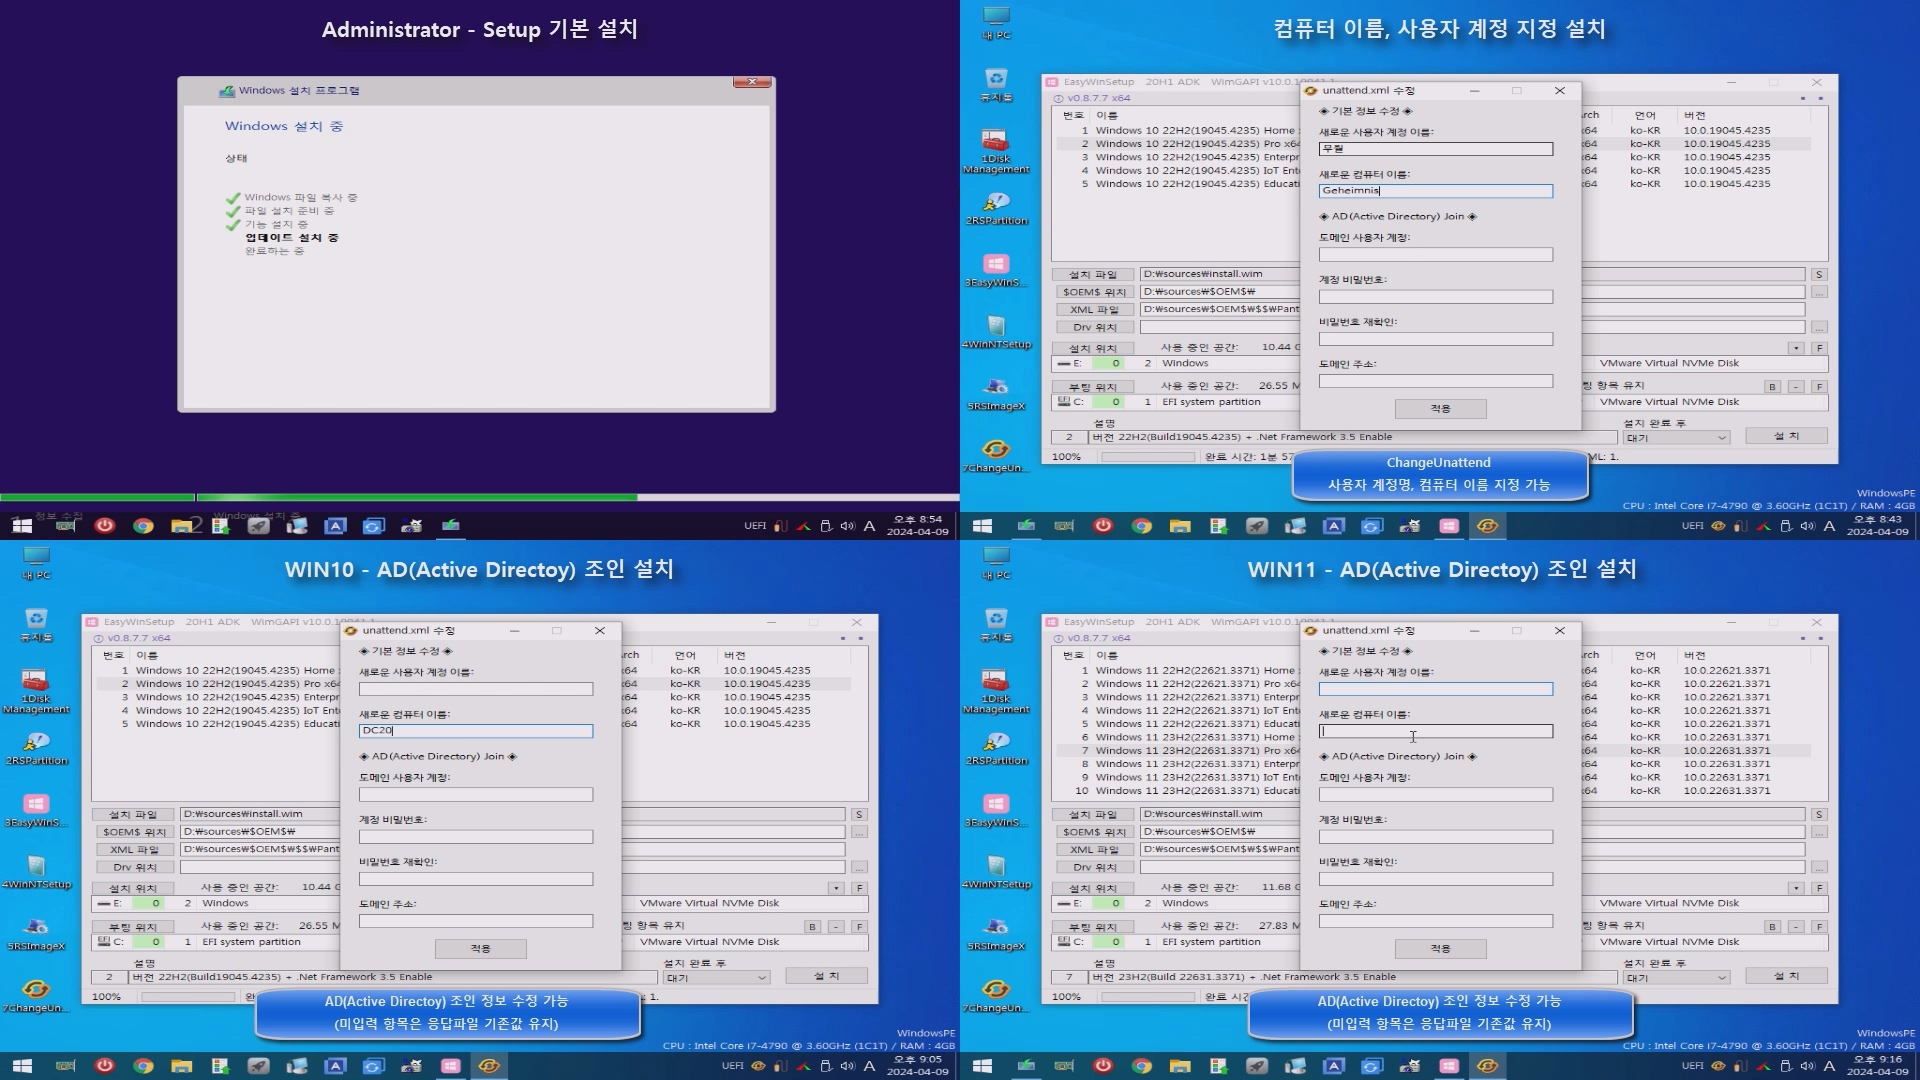
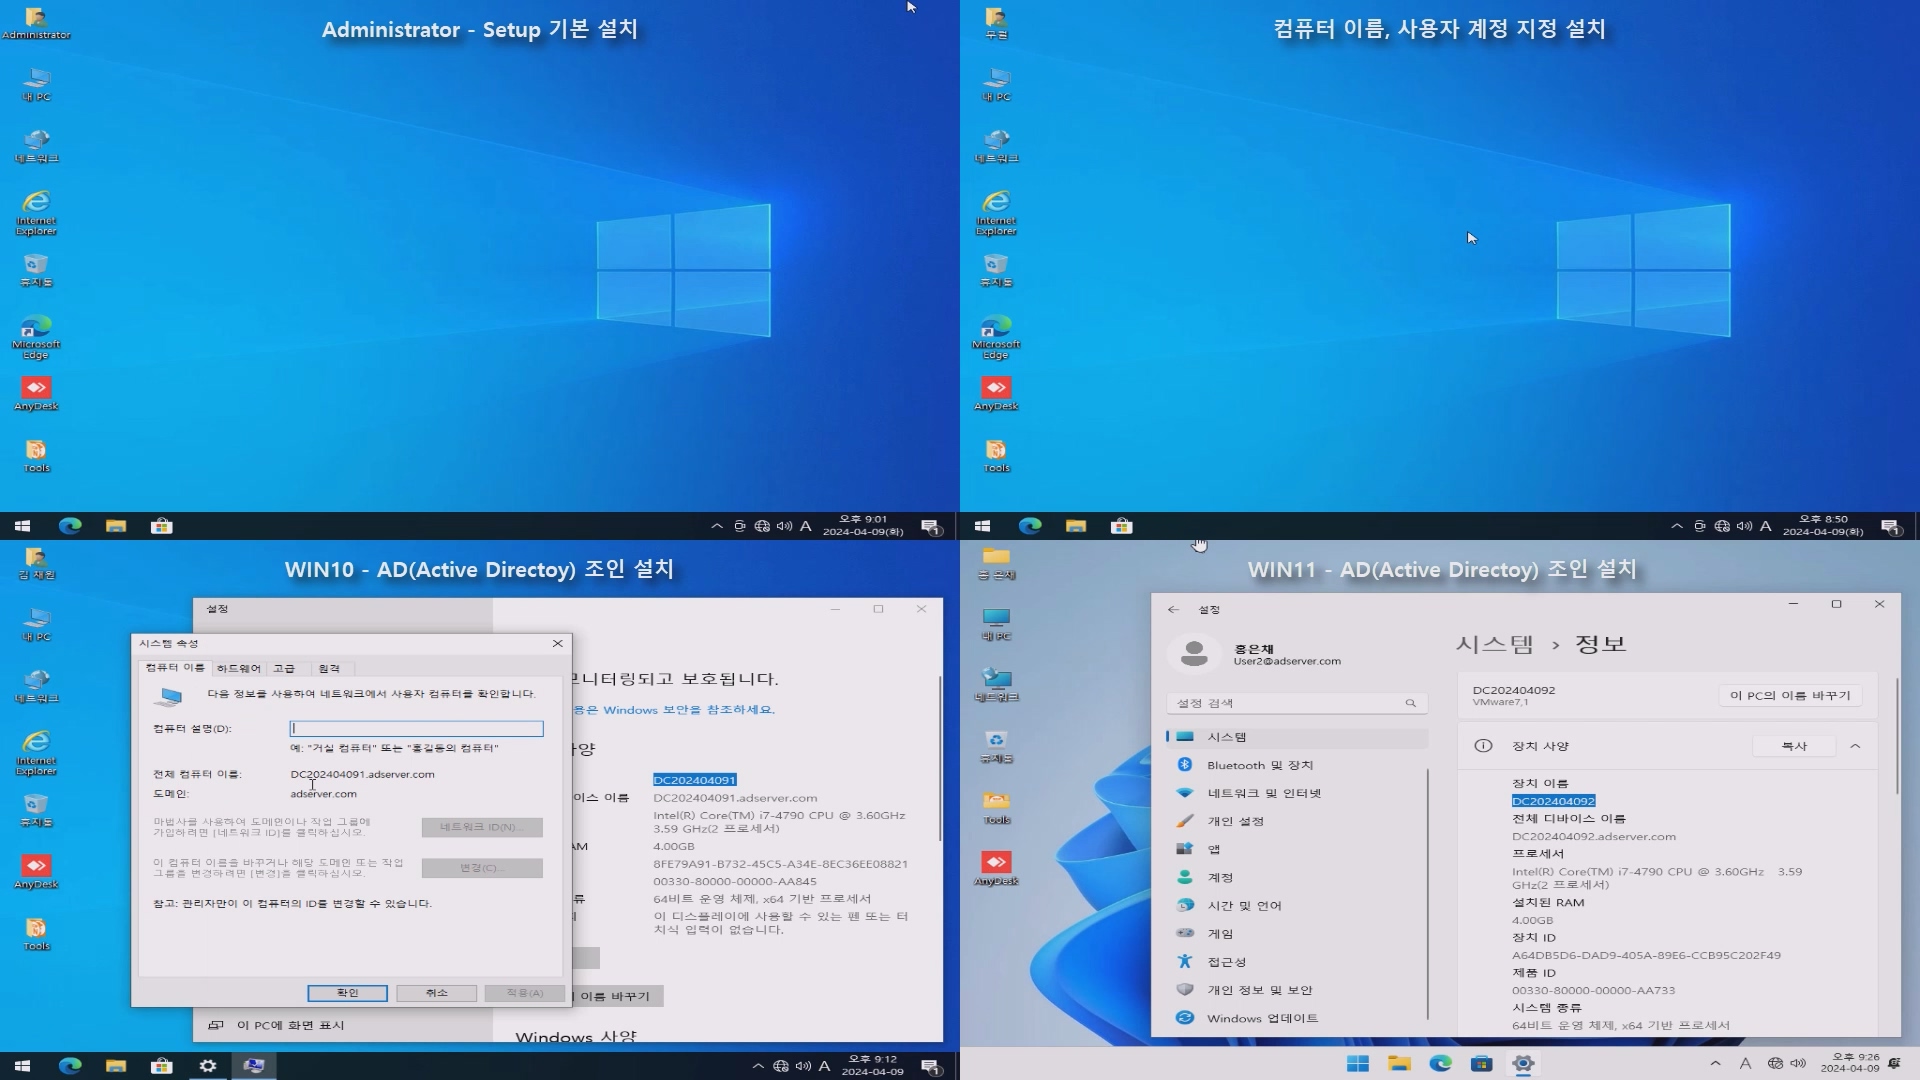
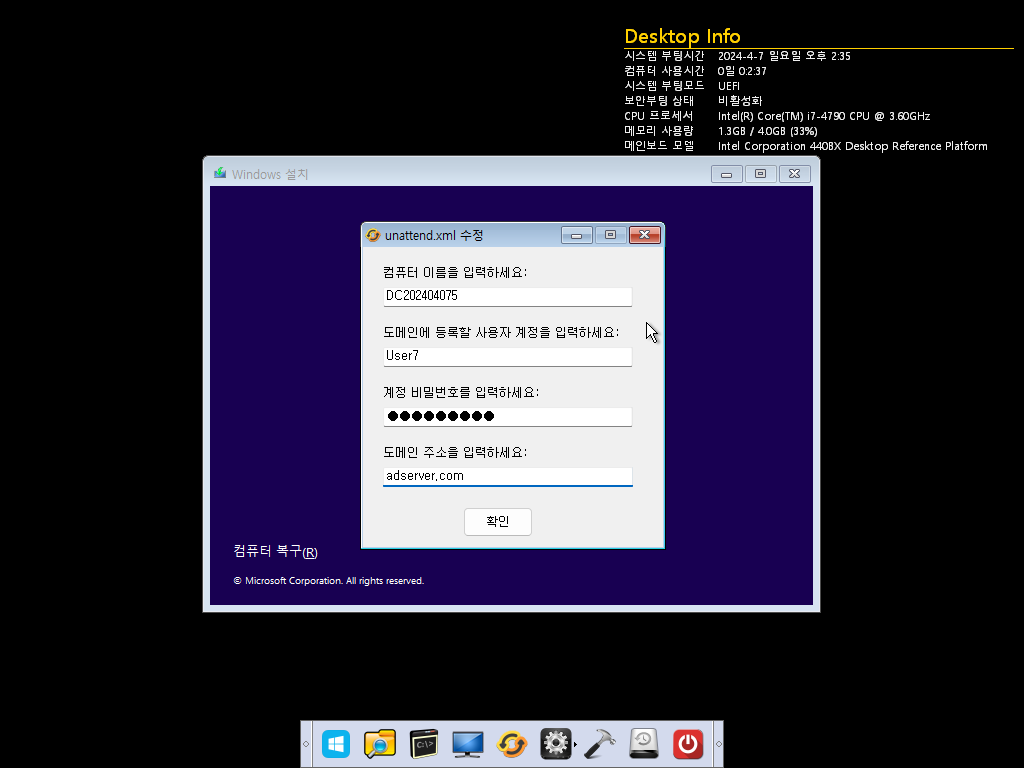
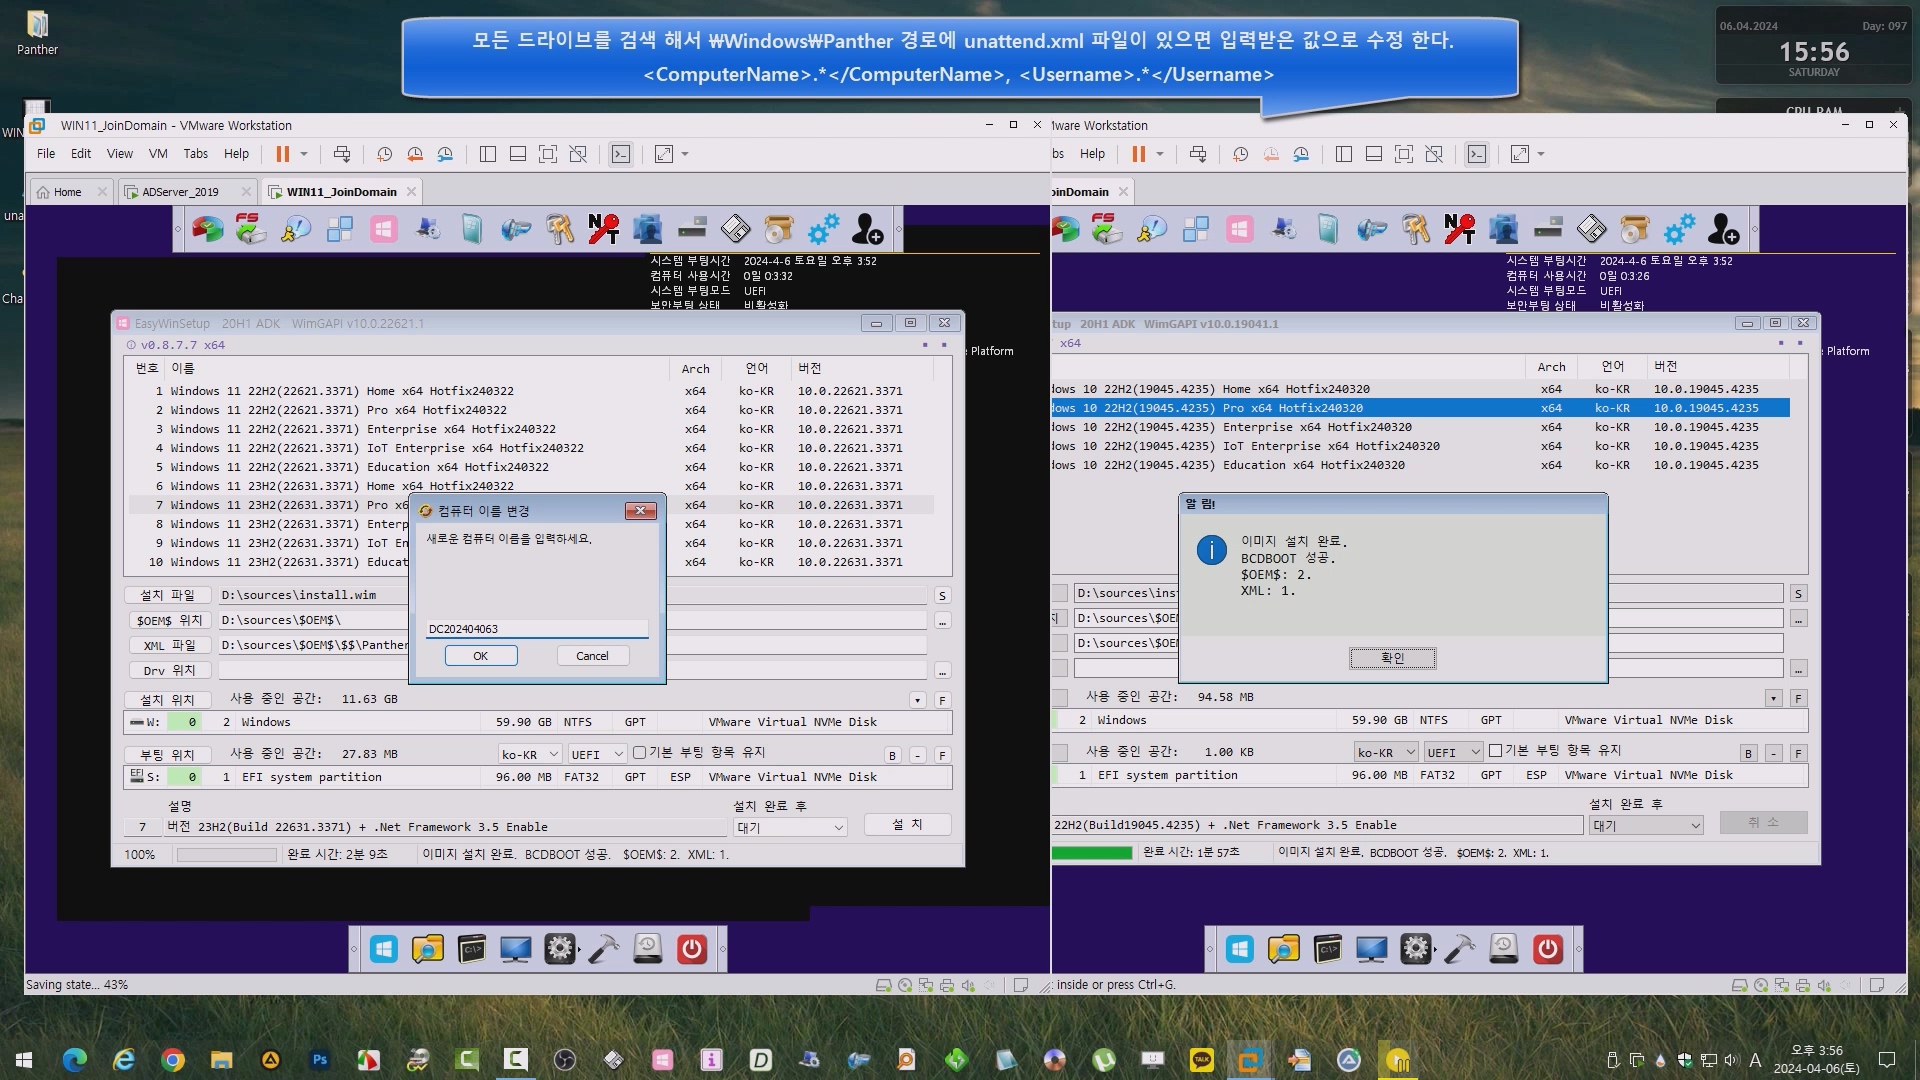
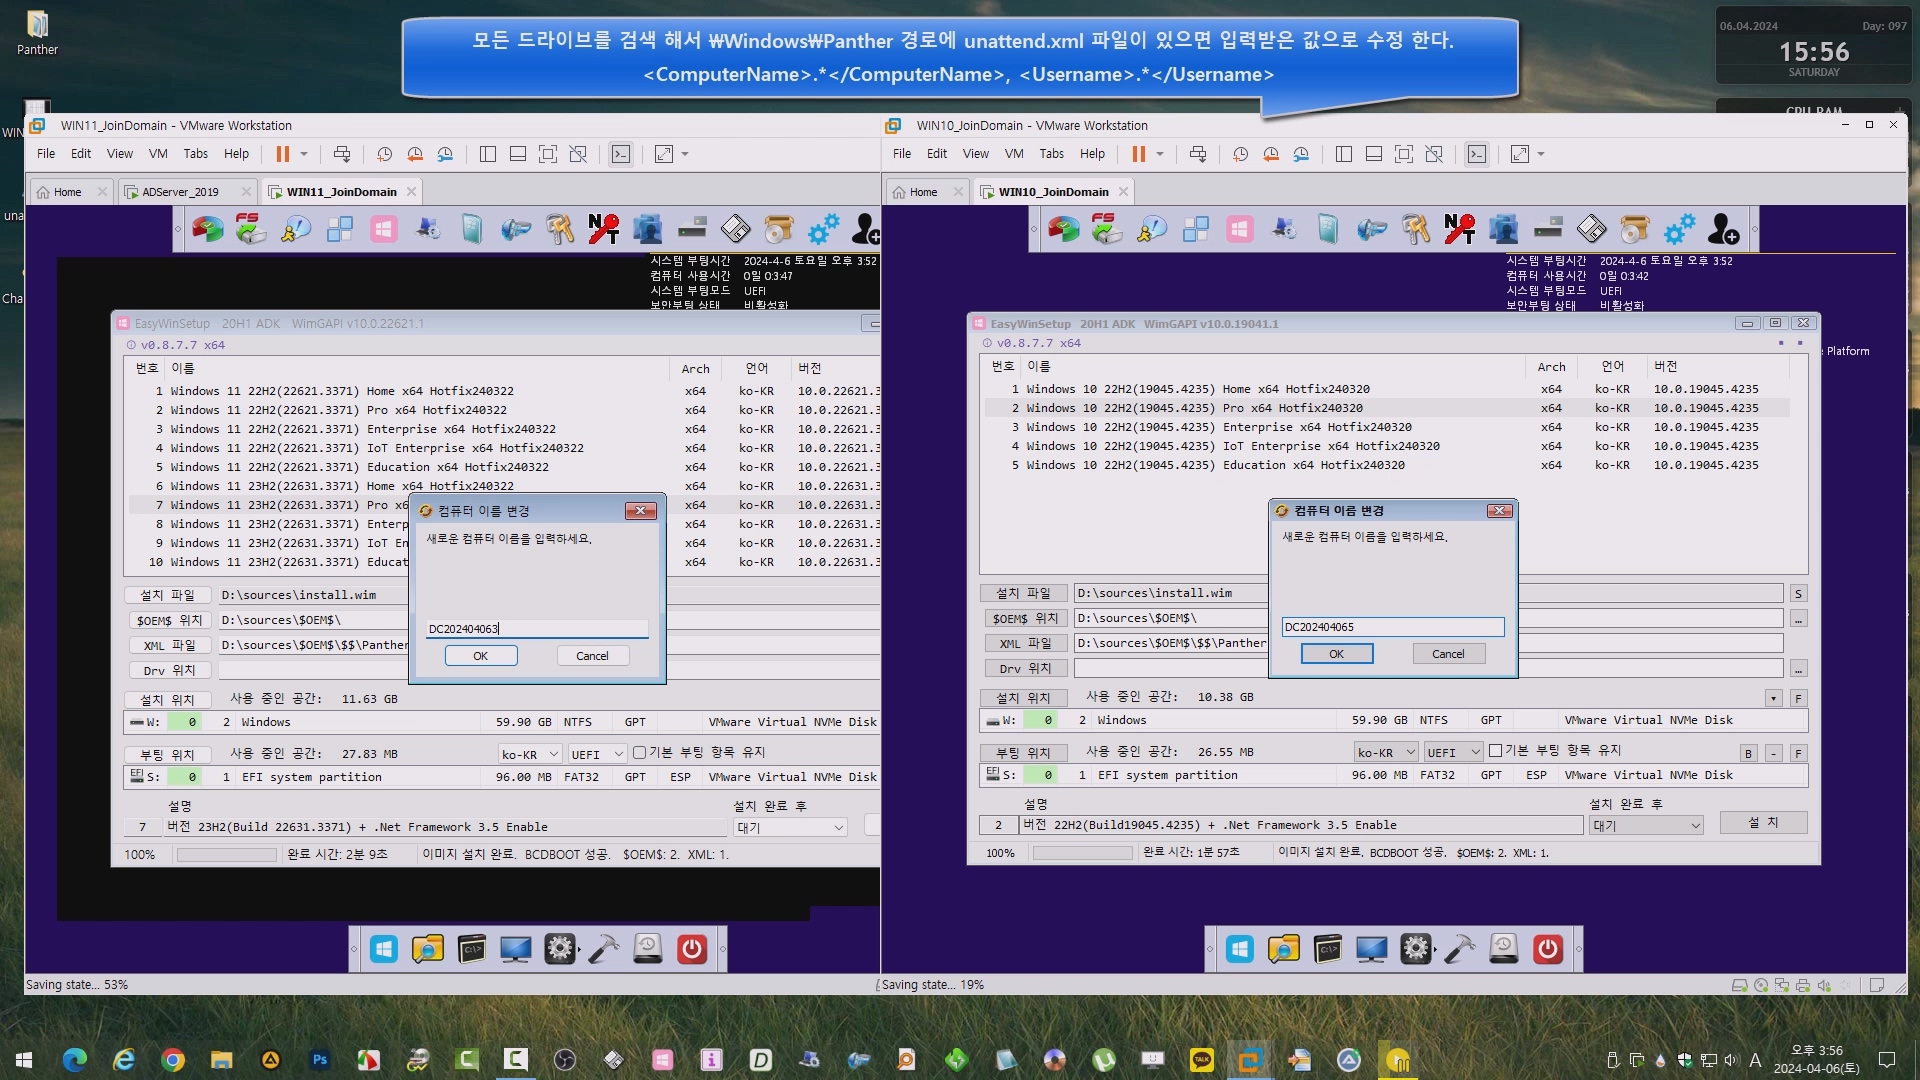
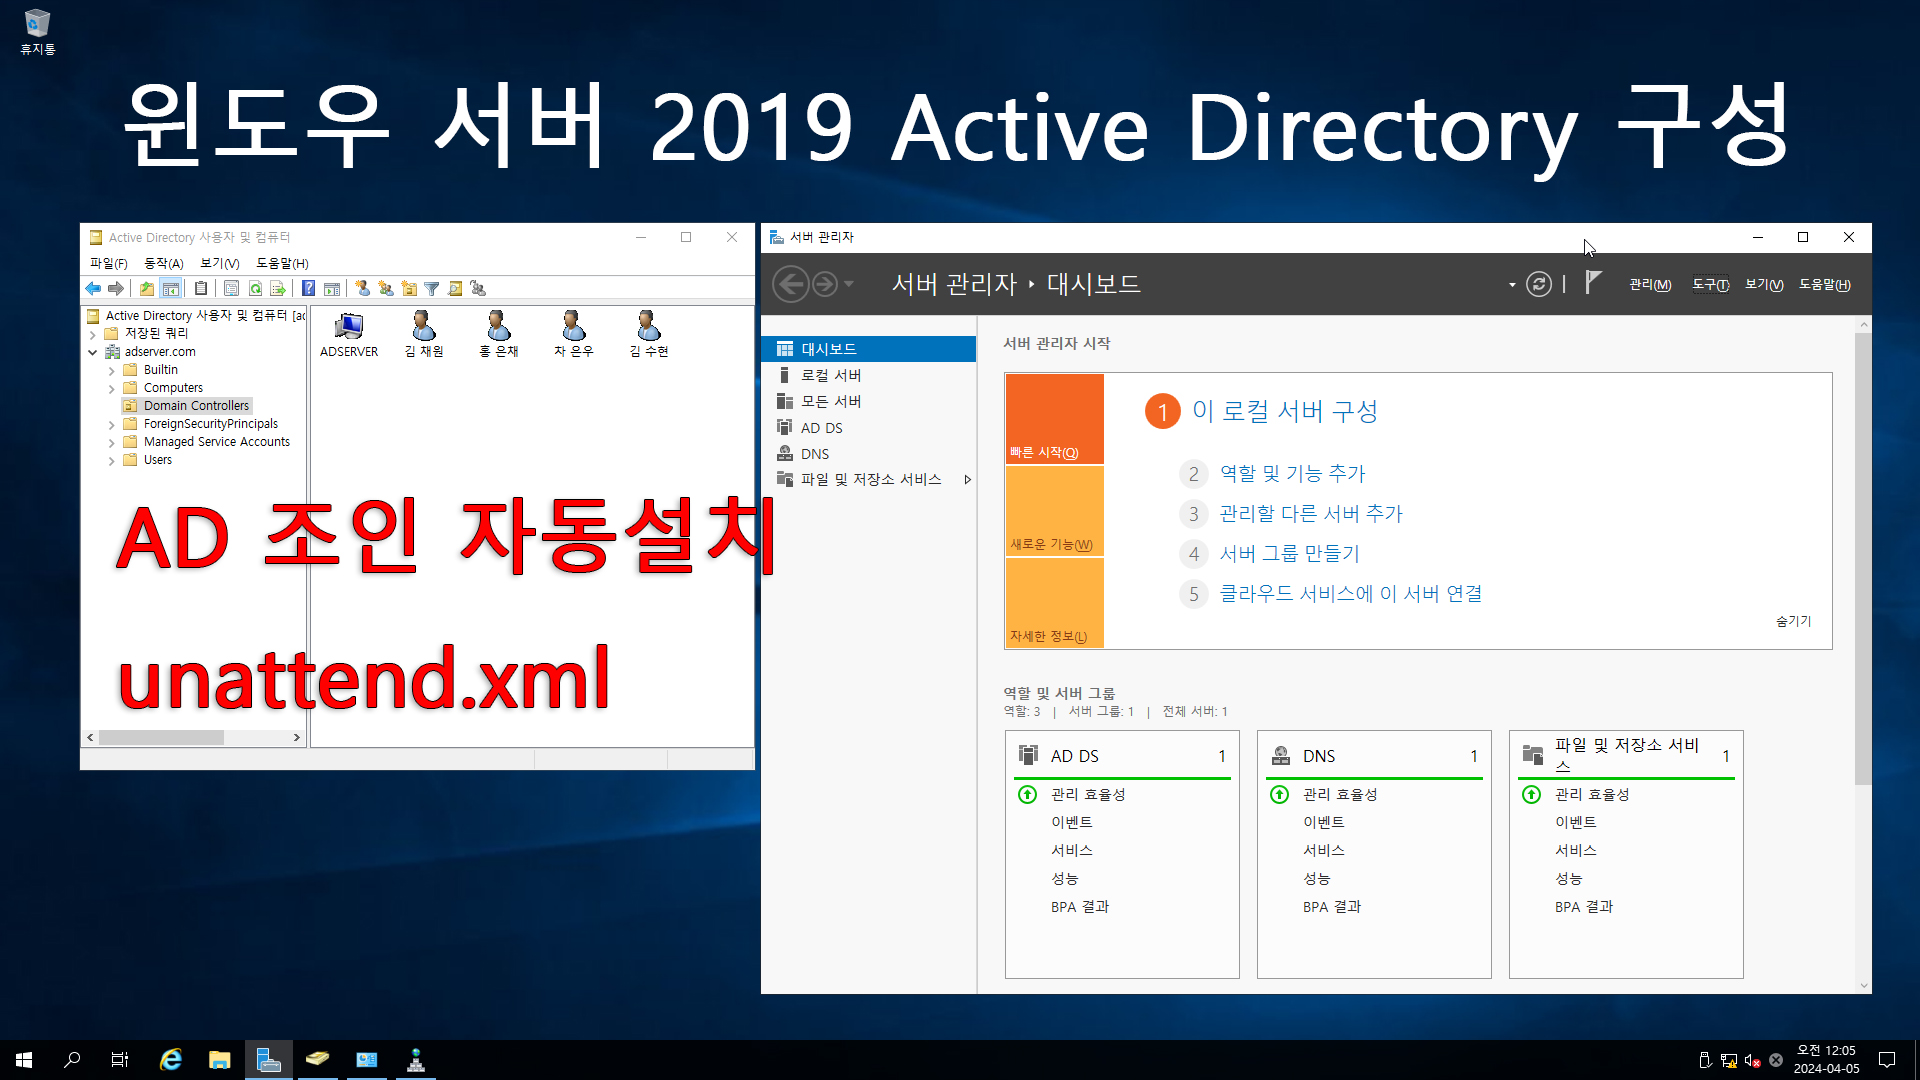
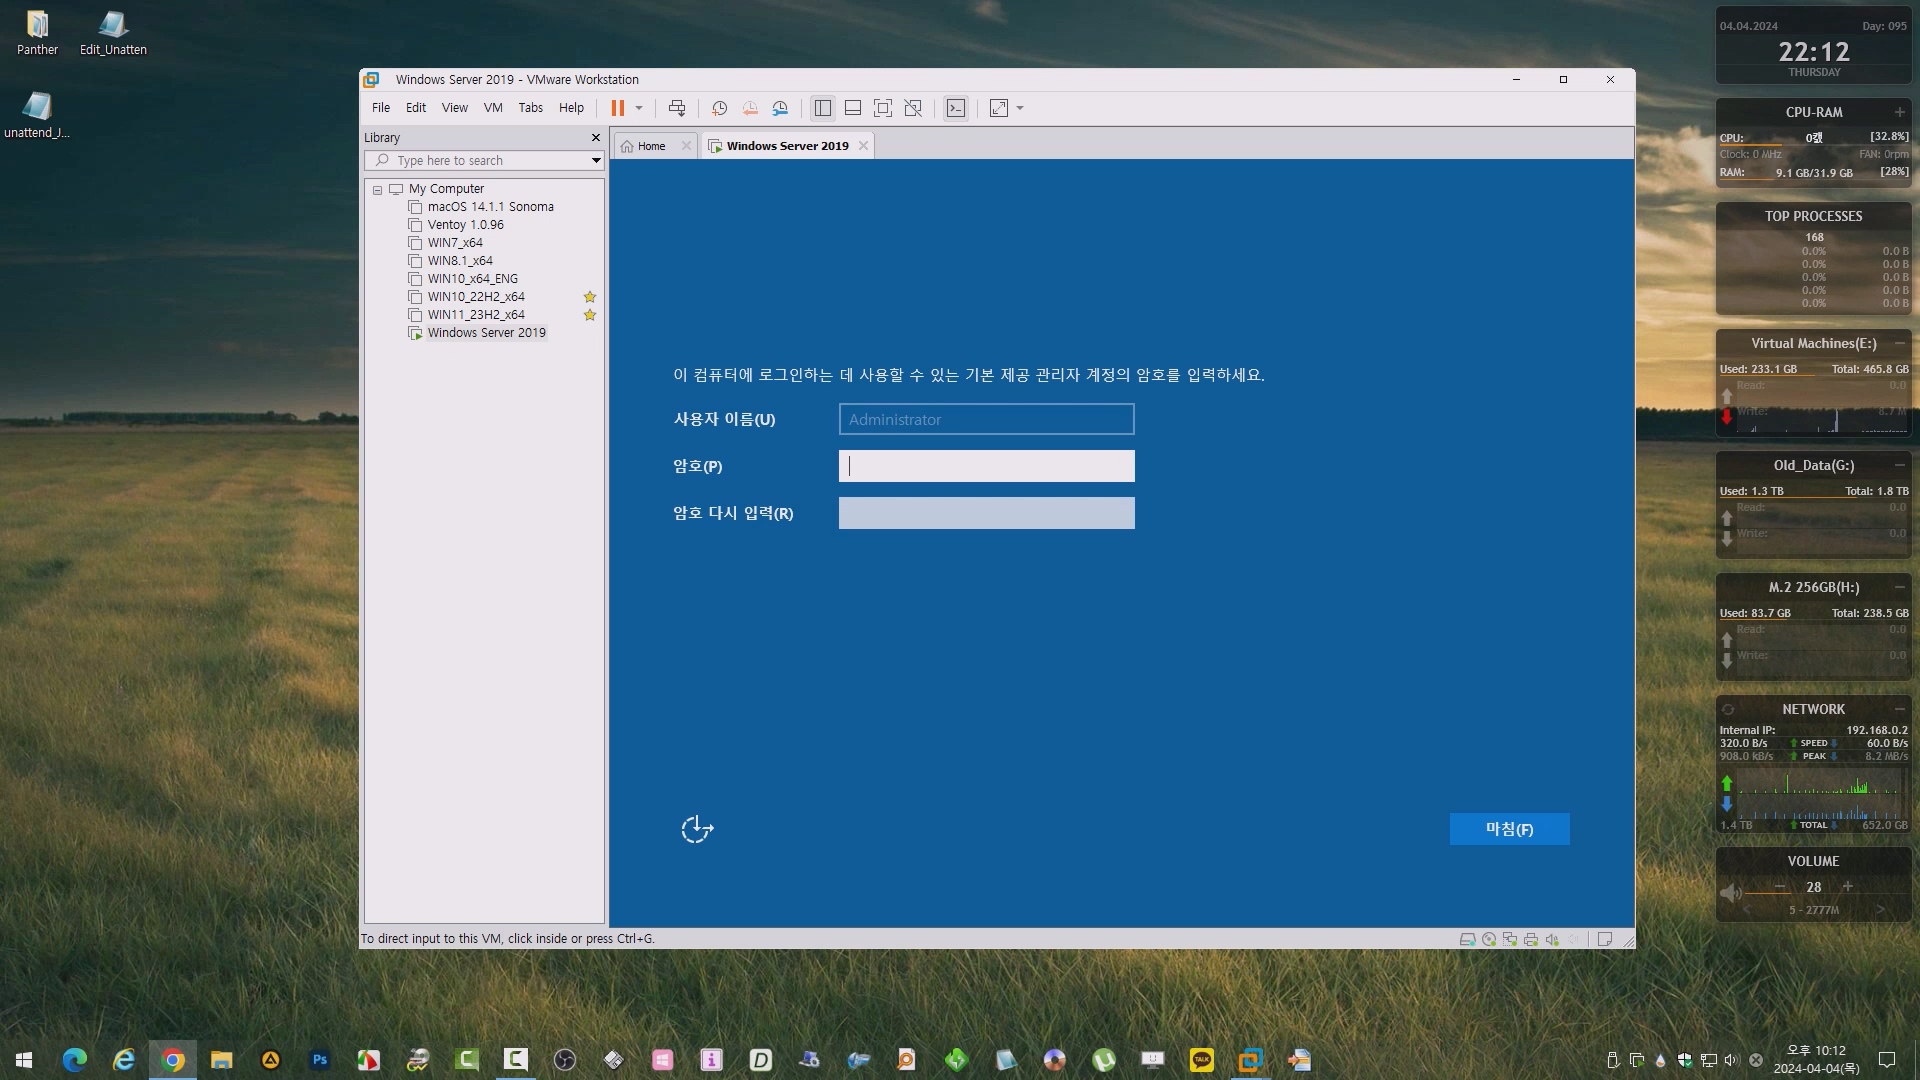
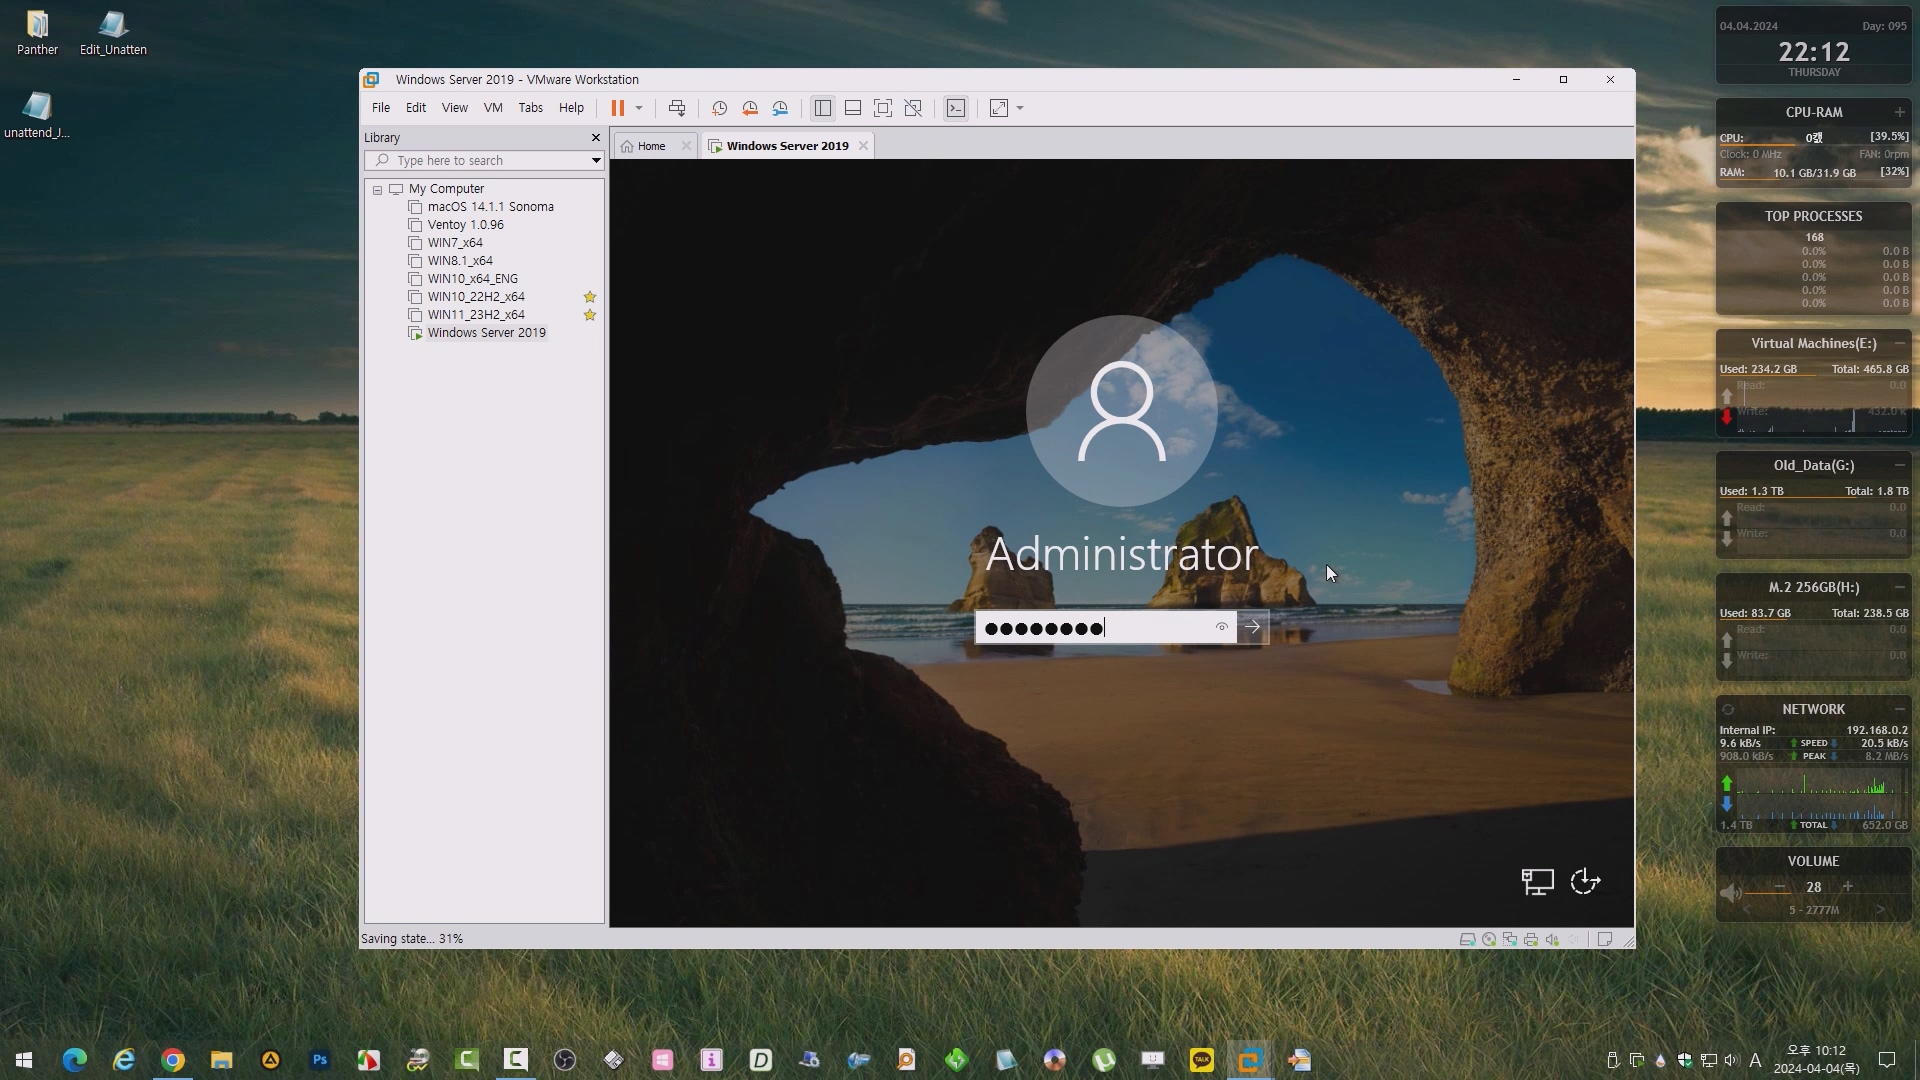
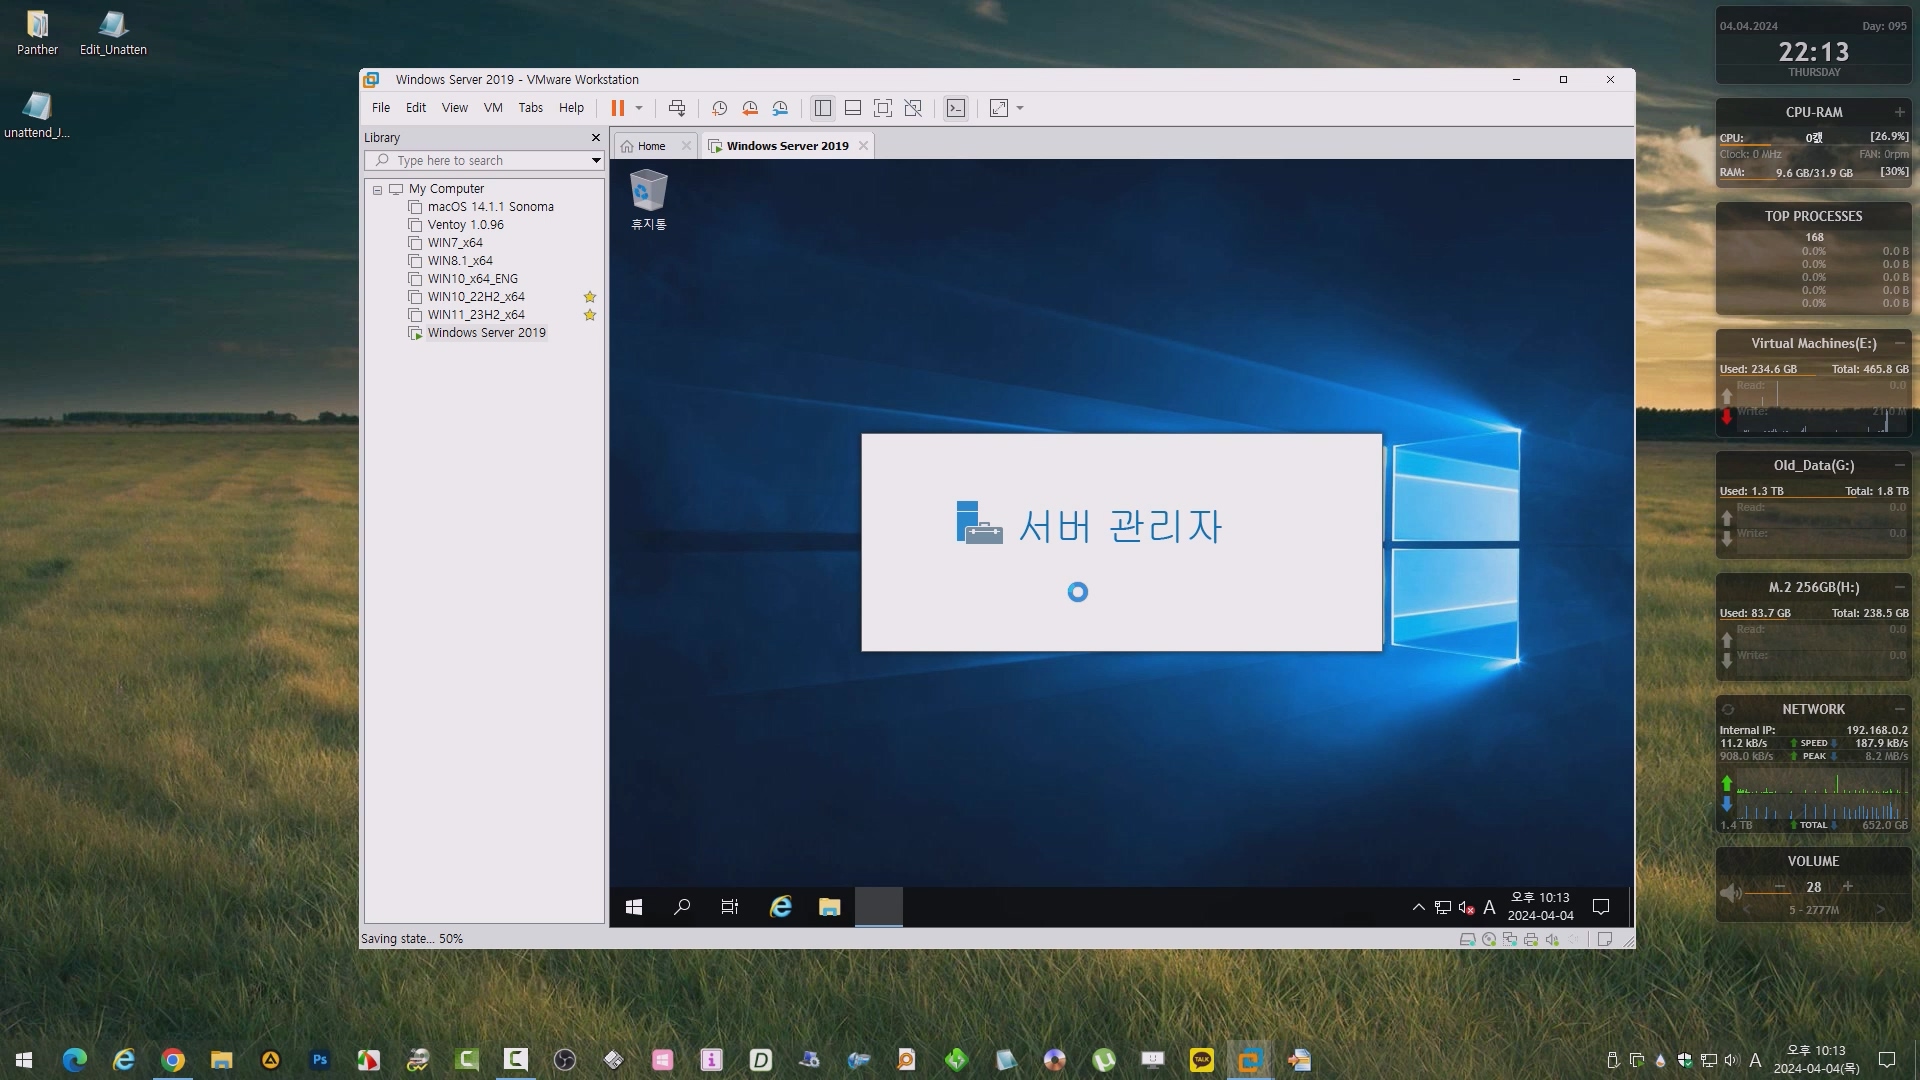
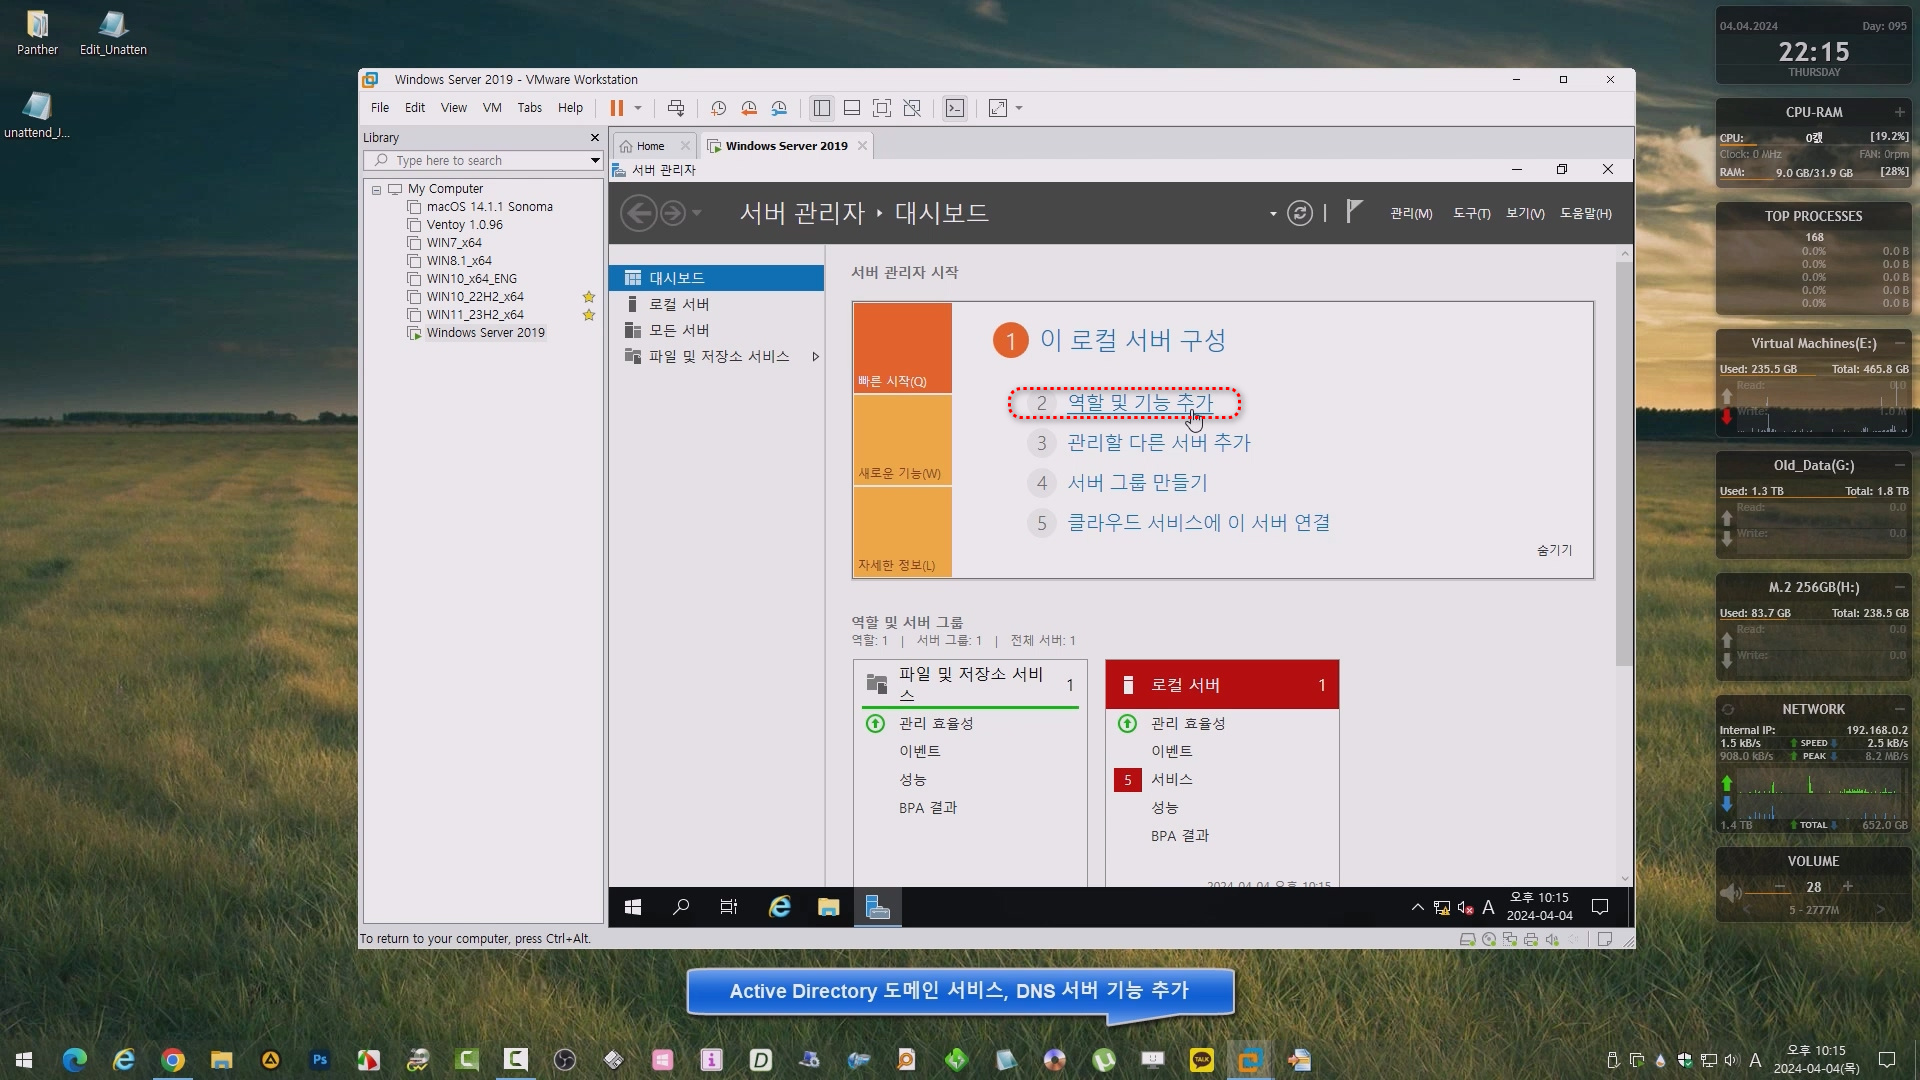
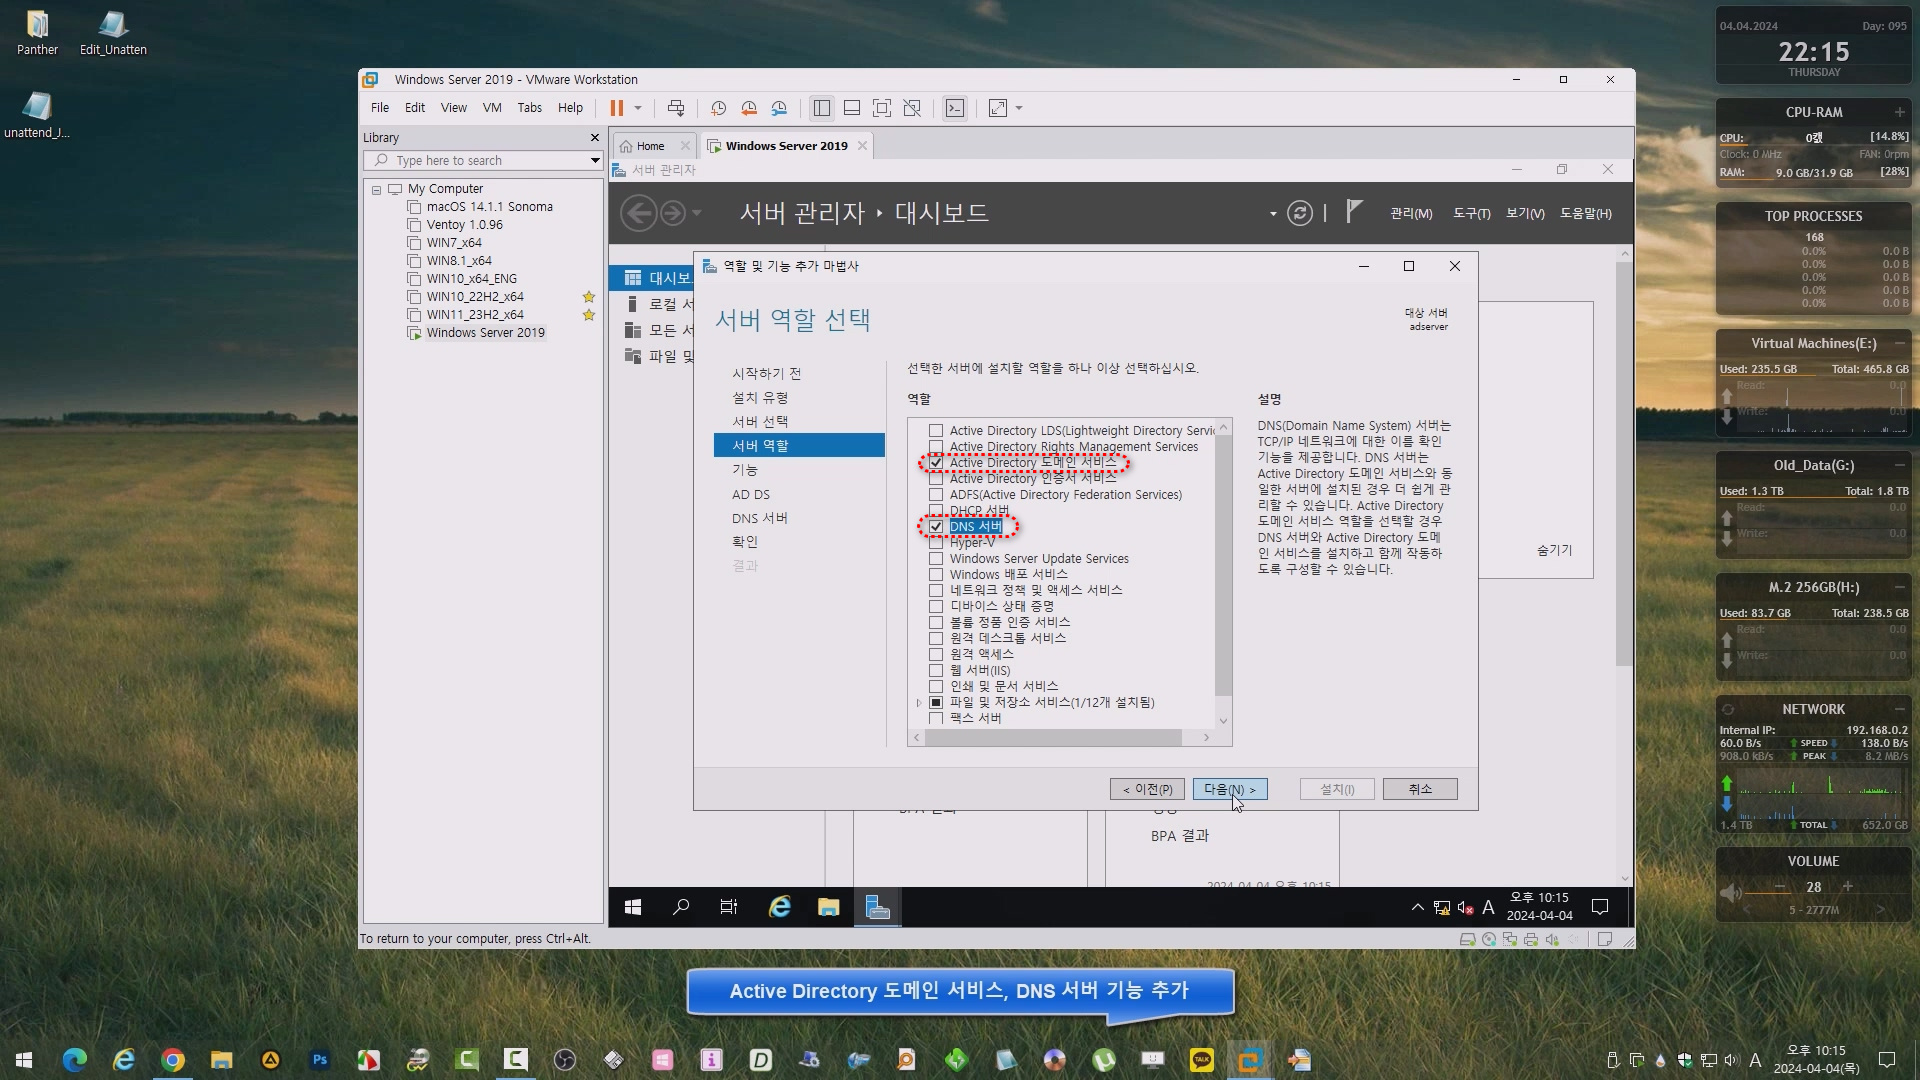
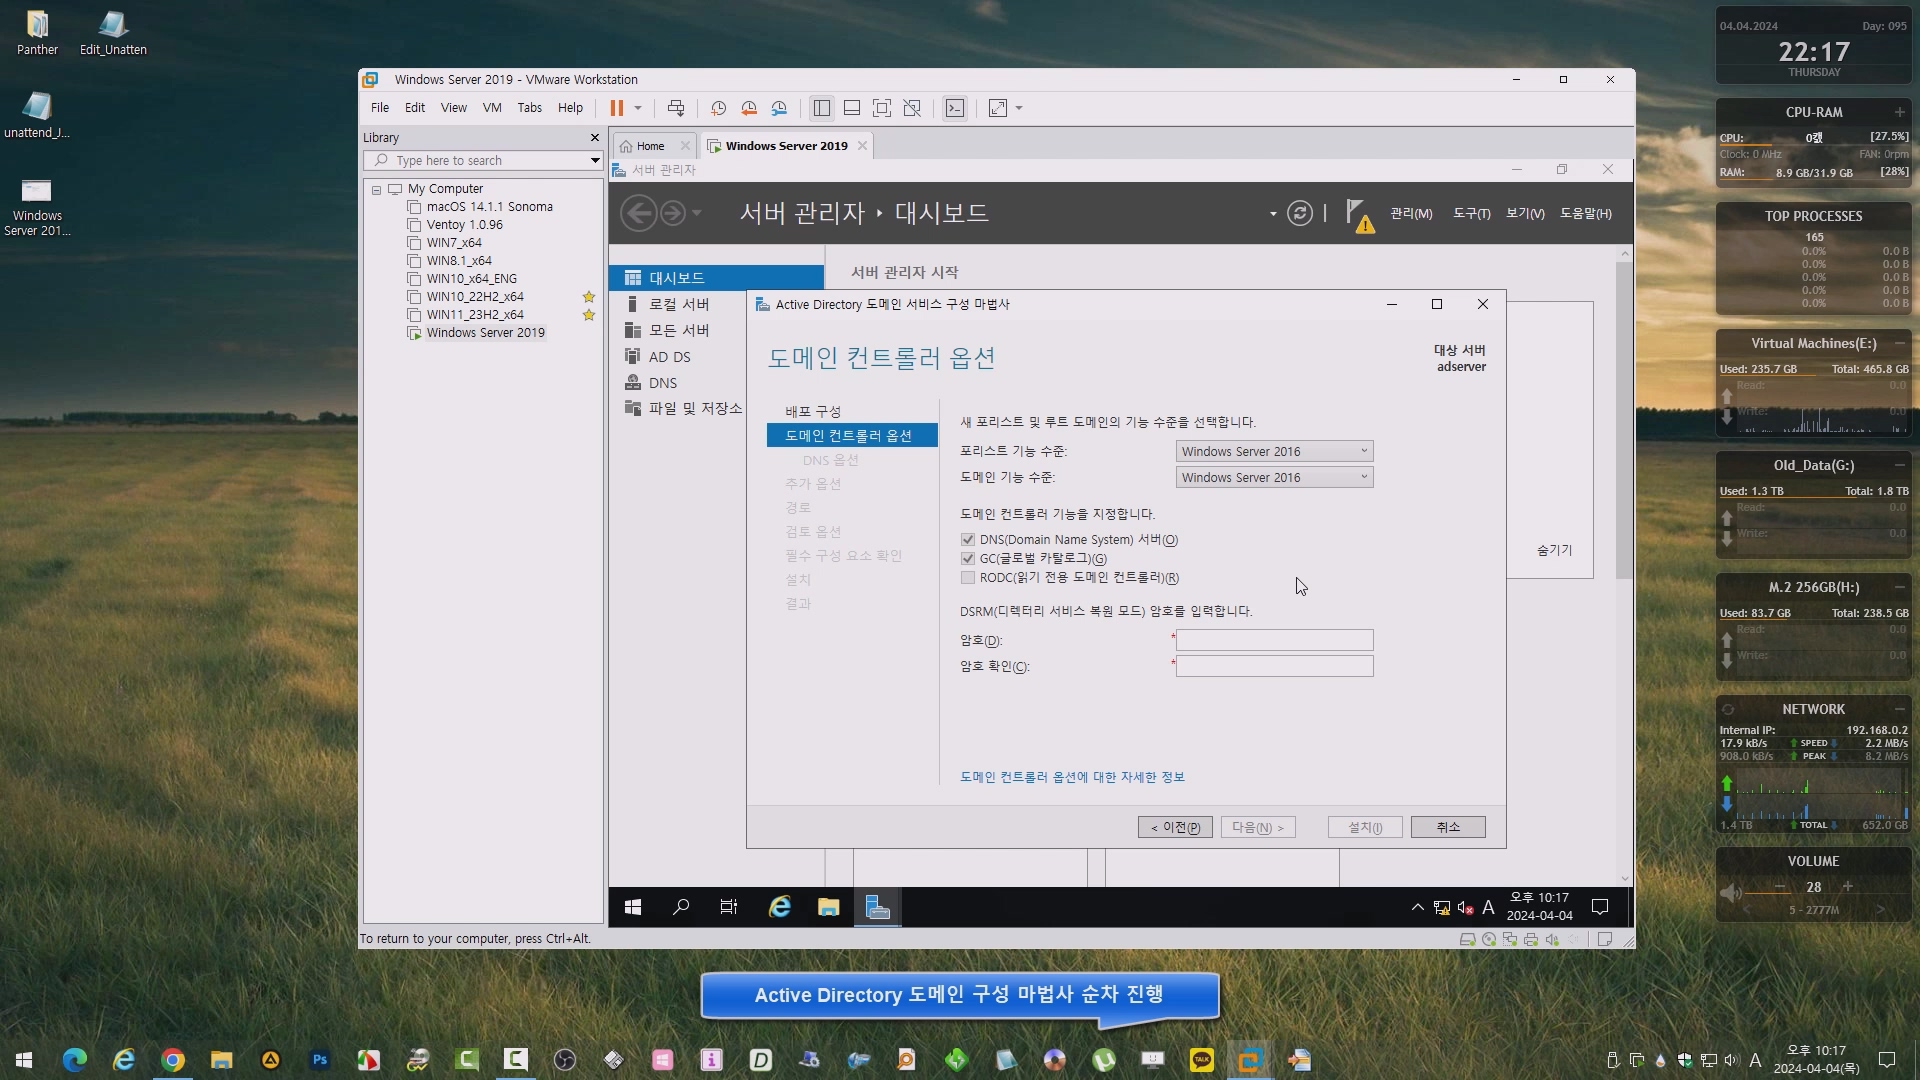
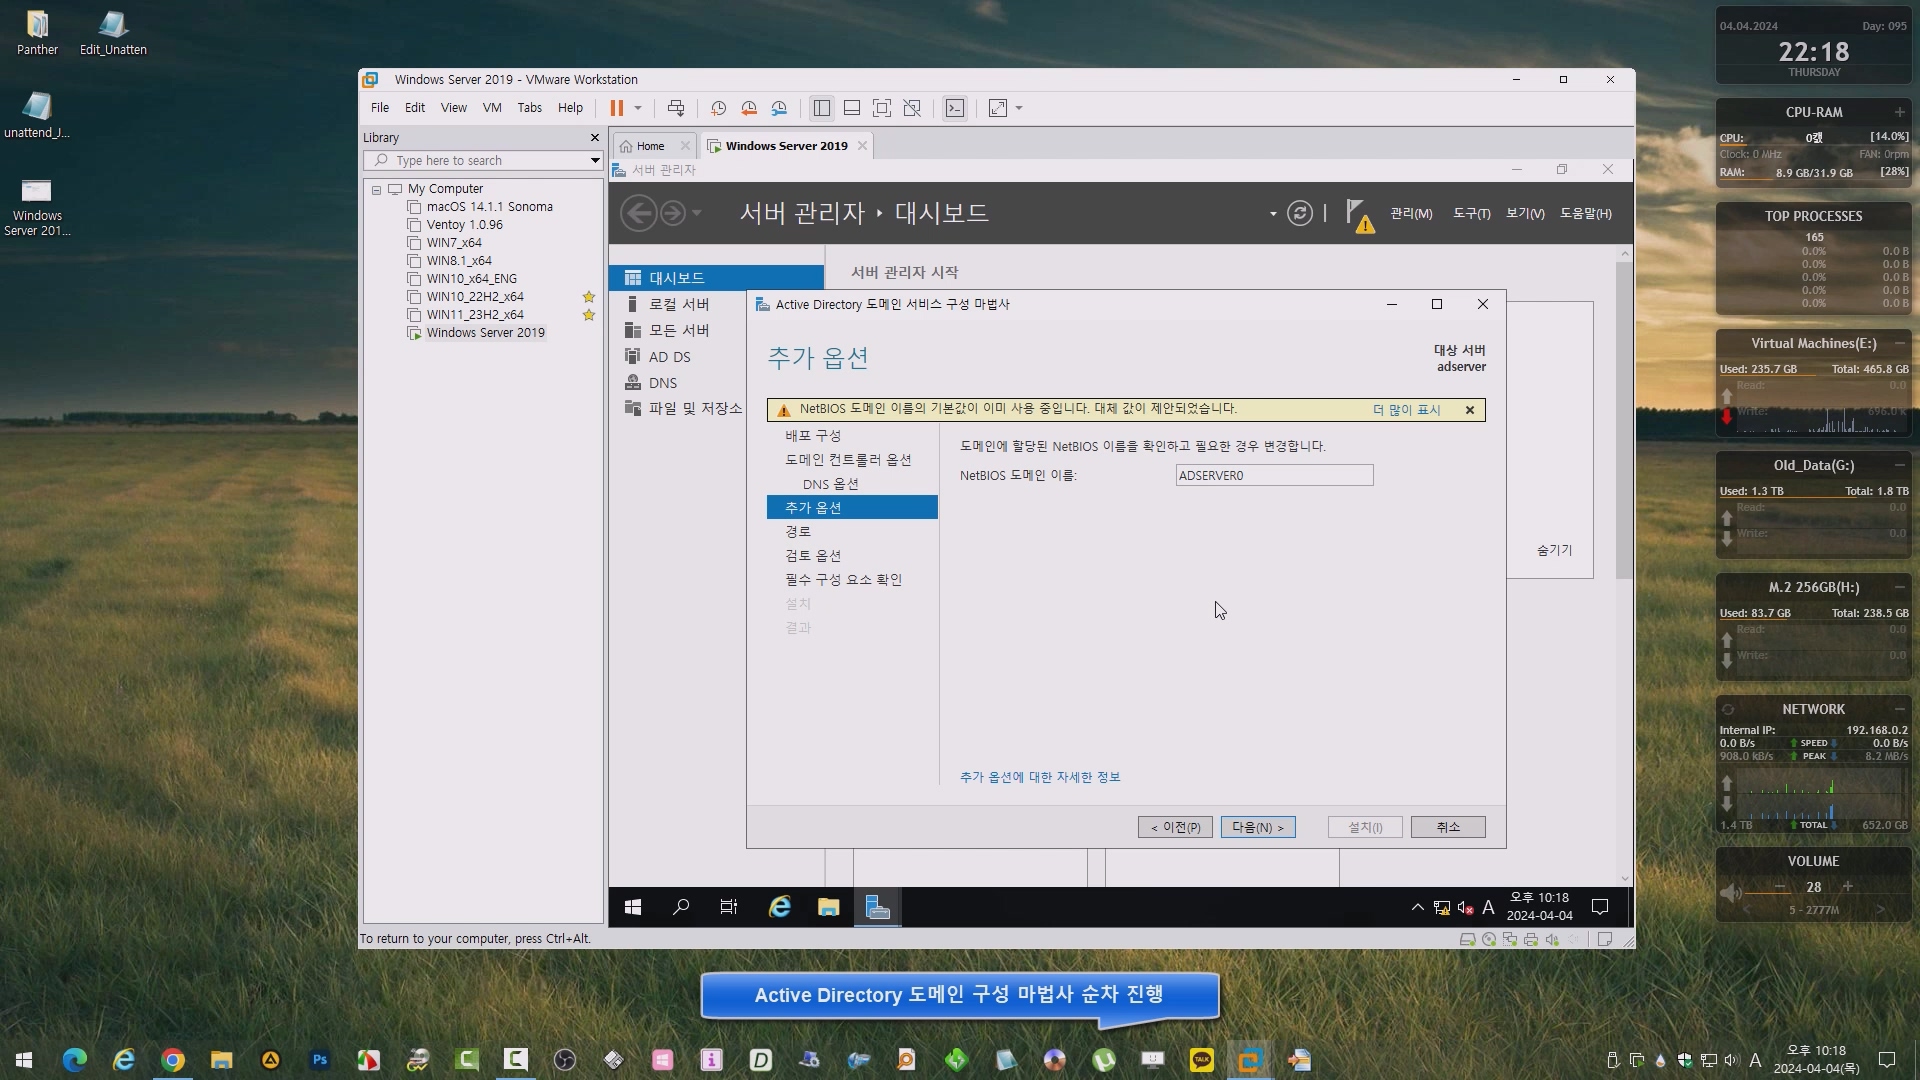
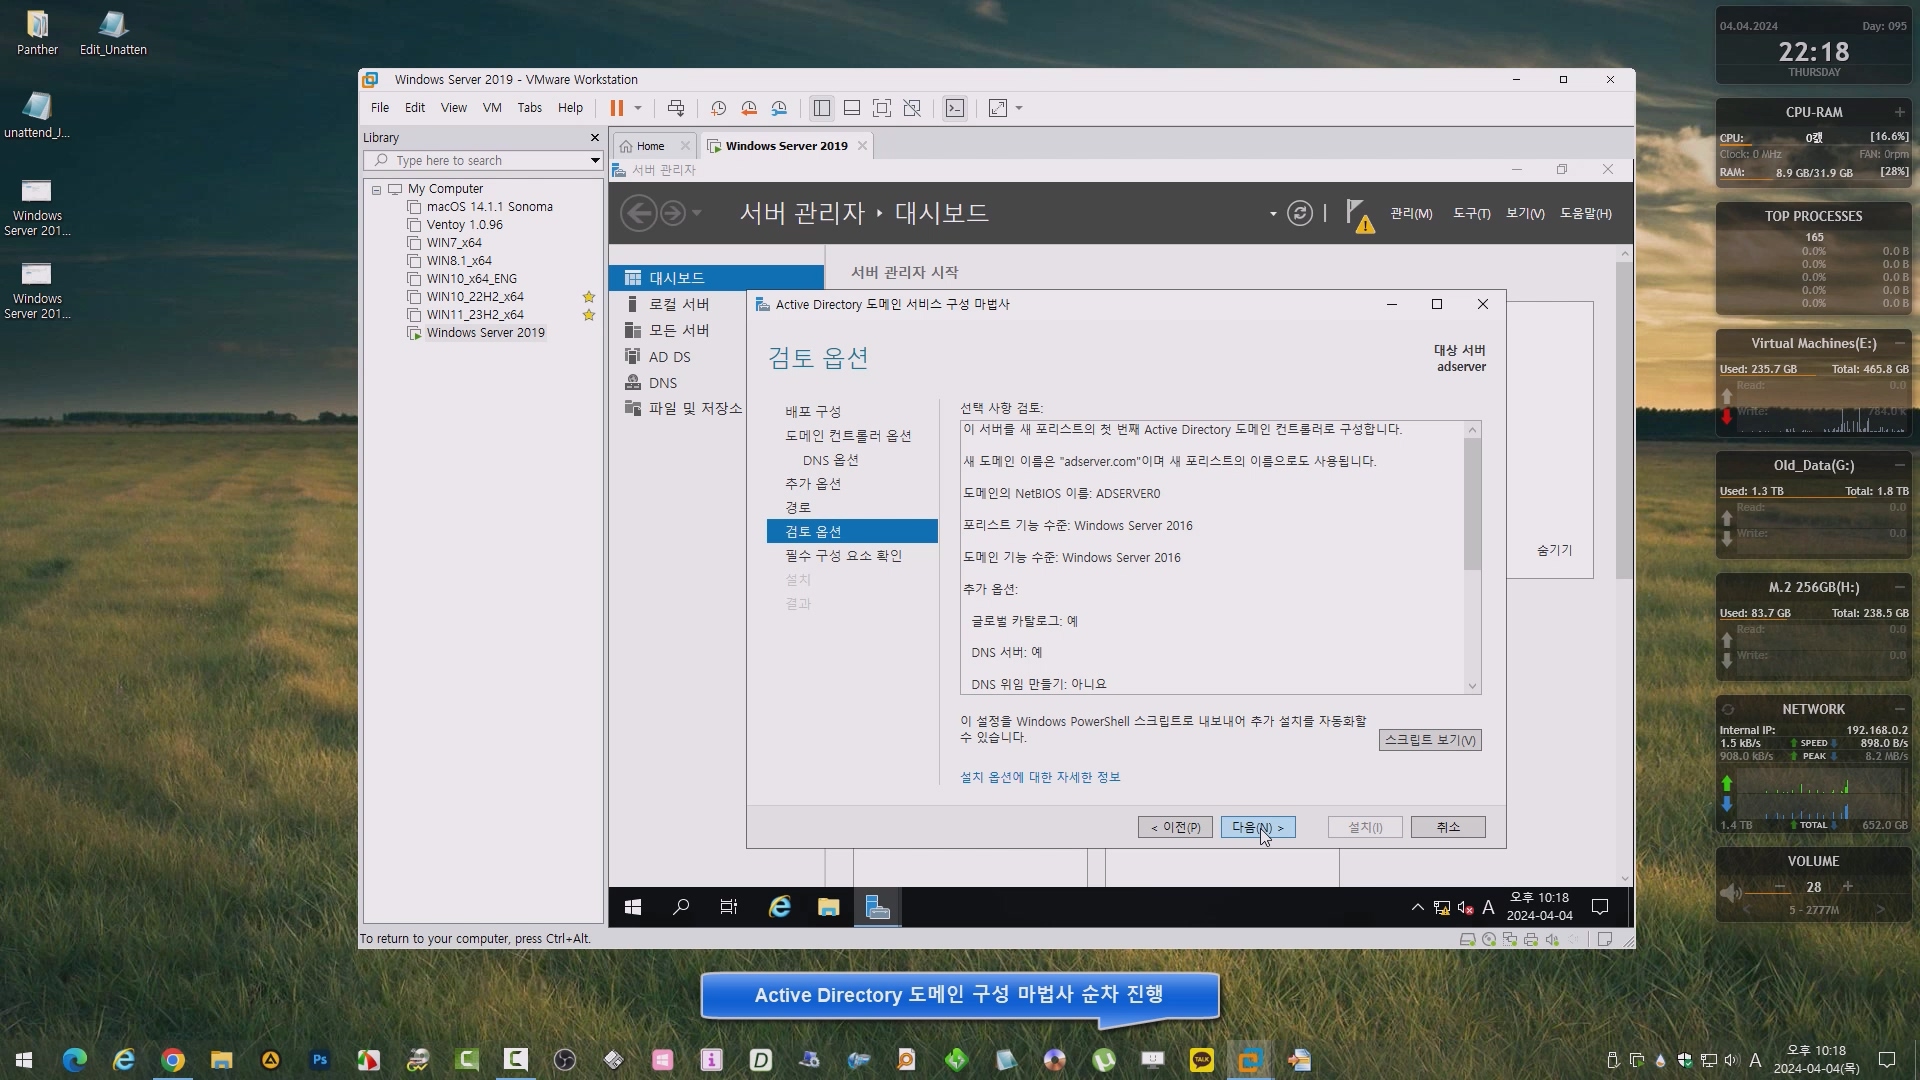
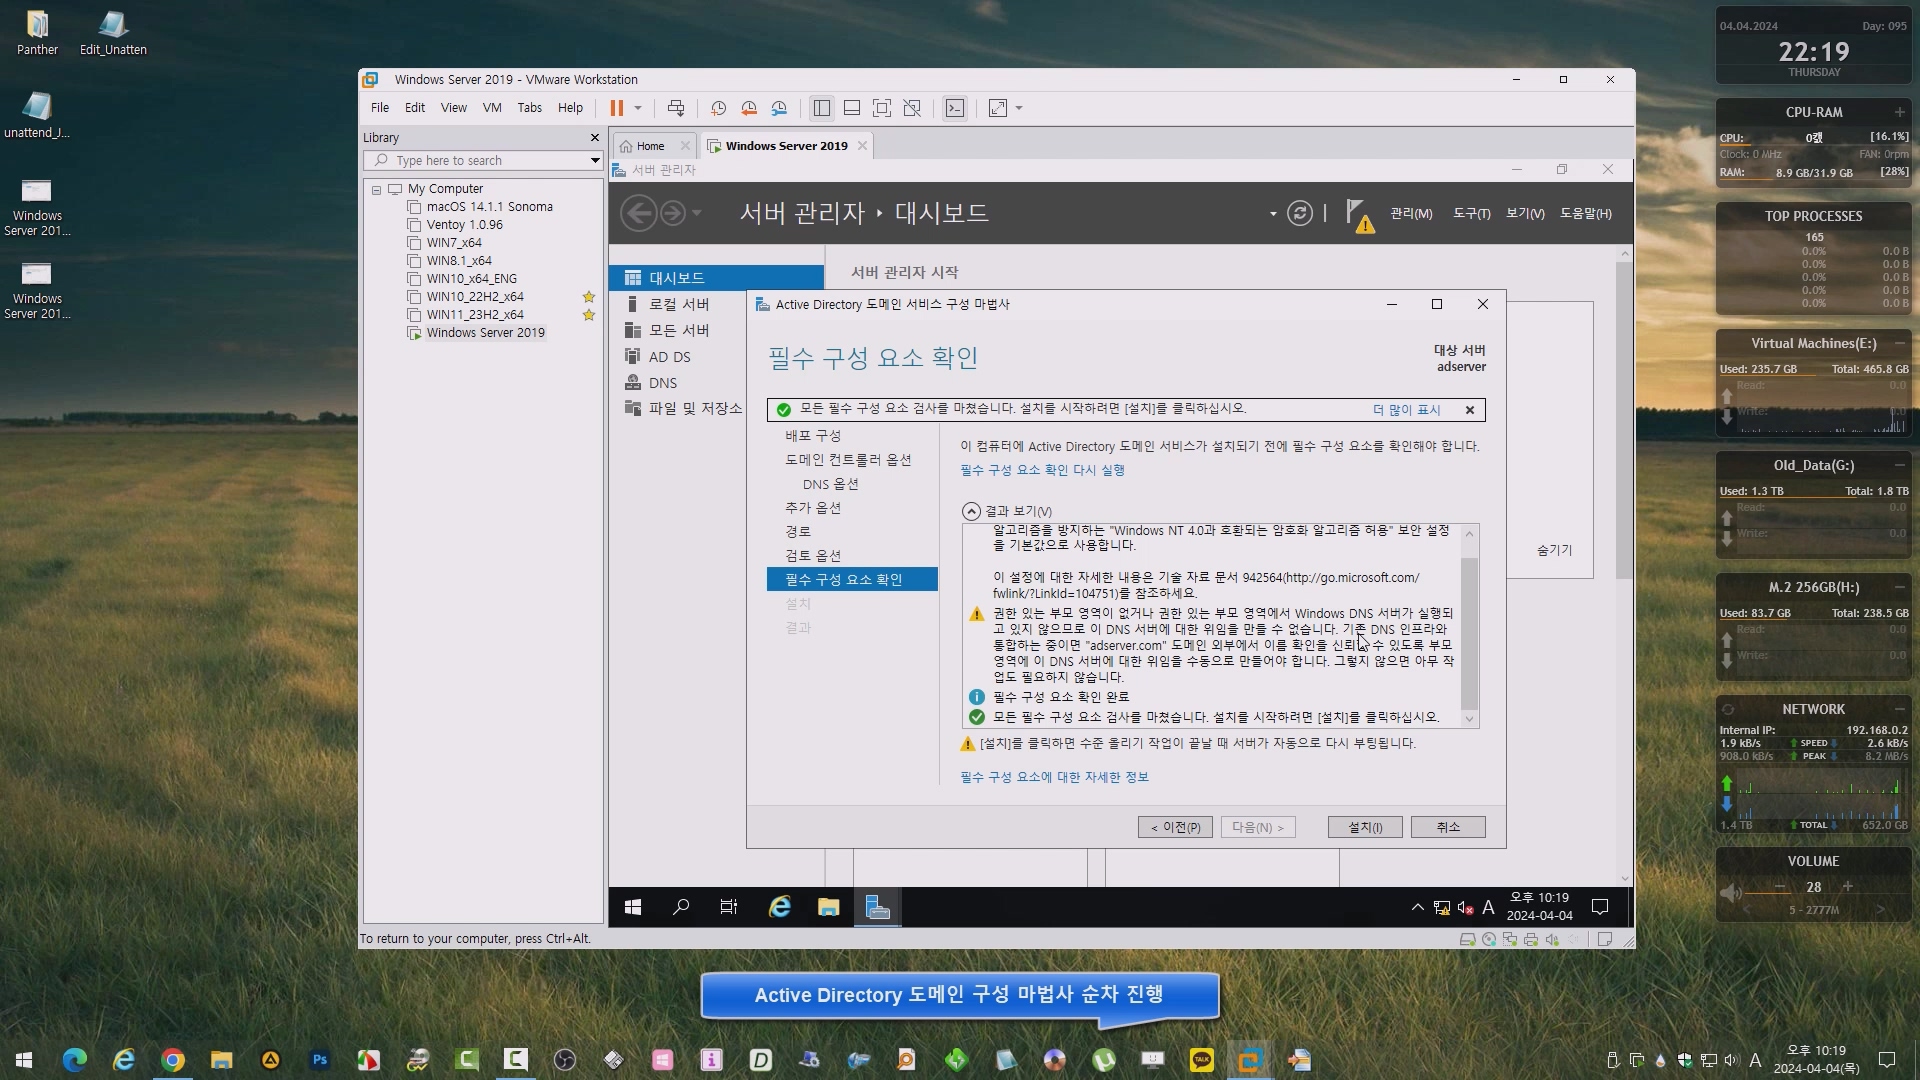
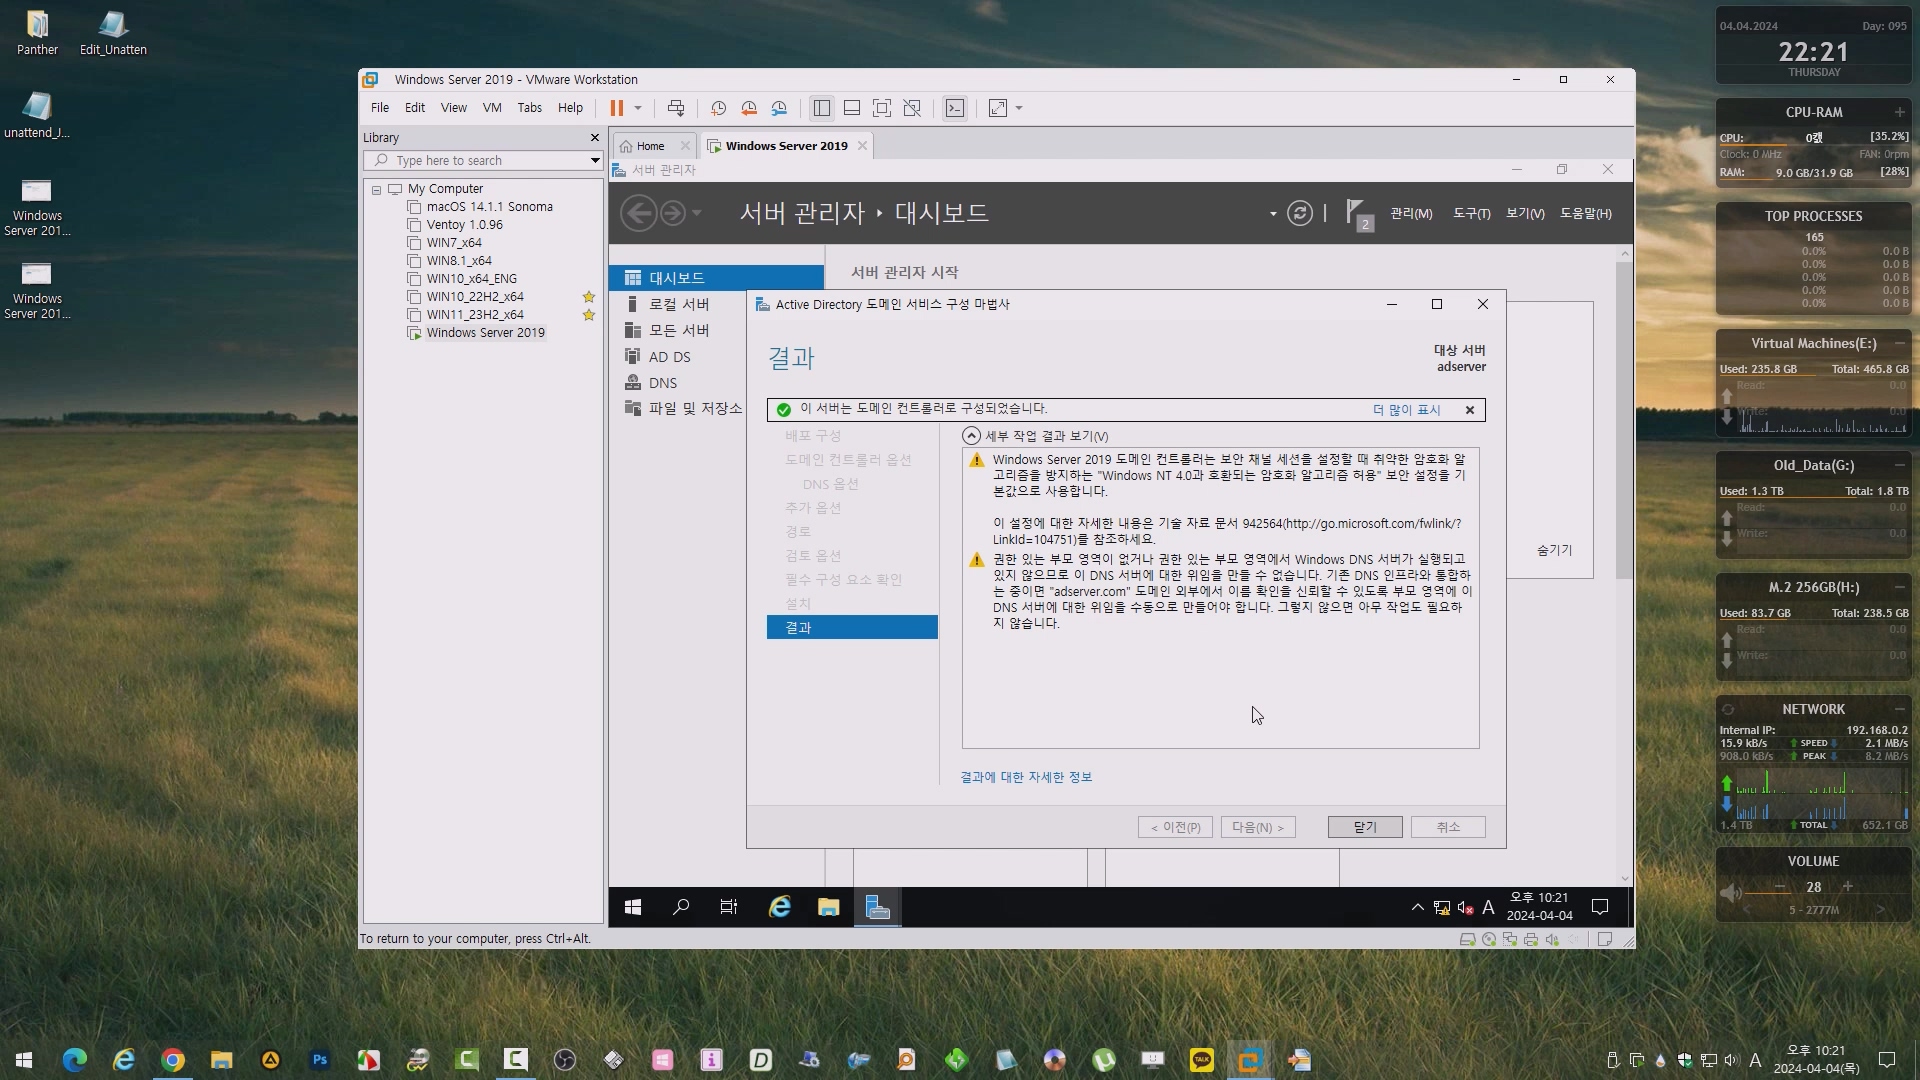
AD(Active Directory) 도메인에 자동 로그인 되도록 윈도우 설치 하는 과정을 녹화해 보았습니다. 모든 드라이브를 검색 해서 \Windows\Panther 경로에 unattend.xml 파일이 있으면 입력받은 값으로 수정 하여 활용 할 수 있으니 참고 하시기 바랍니다.
■ 응답파일 샘플 :
unattend_JoinDomain(AD).xml
0.01MB
<?xml version="1.0" encoding="utf-8"?>
<unattend xmlns="urn:schemas-microsoft-com:unattend">
<settings pass="specialize">
<component name="Microsoft-Windows-Shell-Setup" processorArchitecture="amd64" publicKeyToken="31bf3856ad364e35" language="neutral" versionScope="nonSxS">
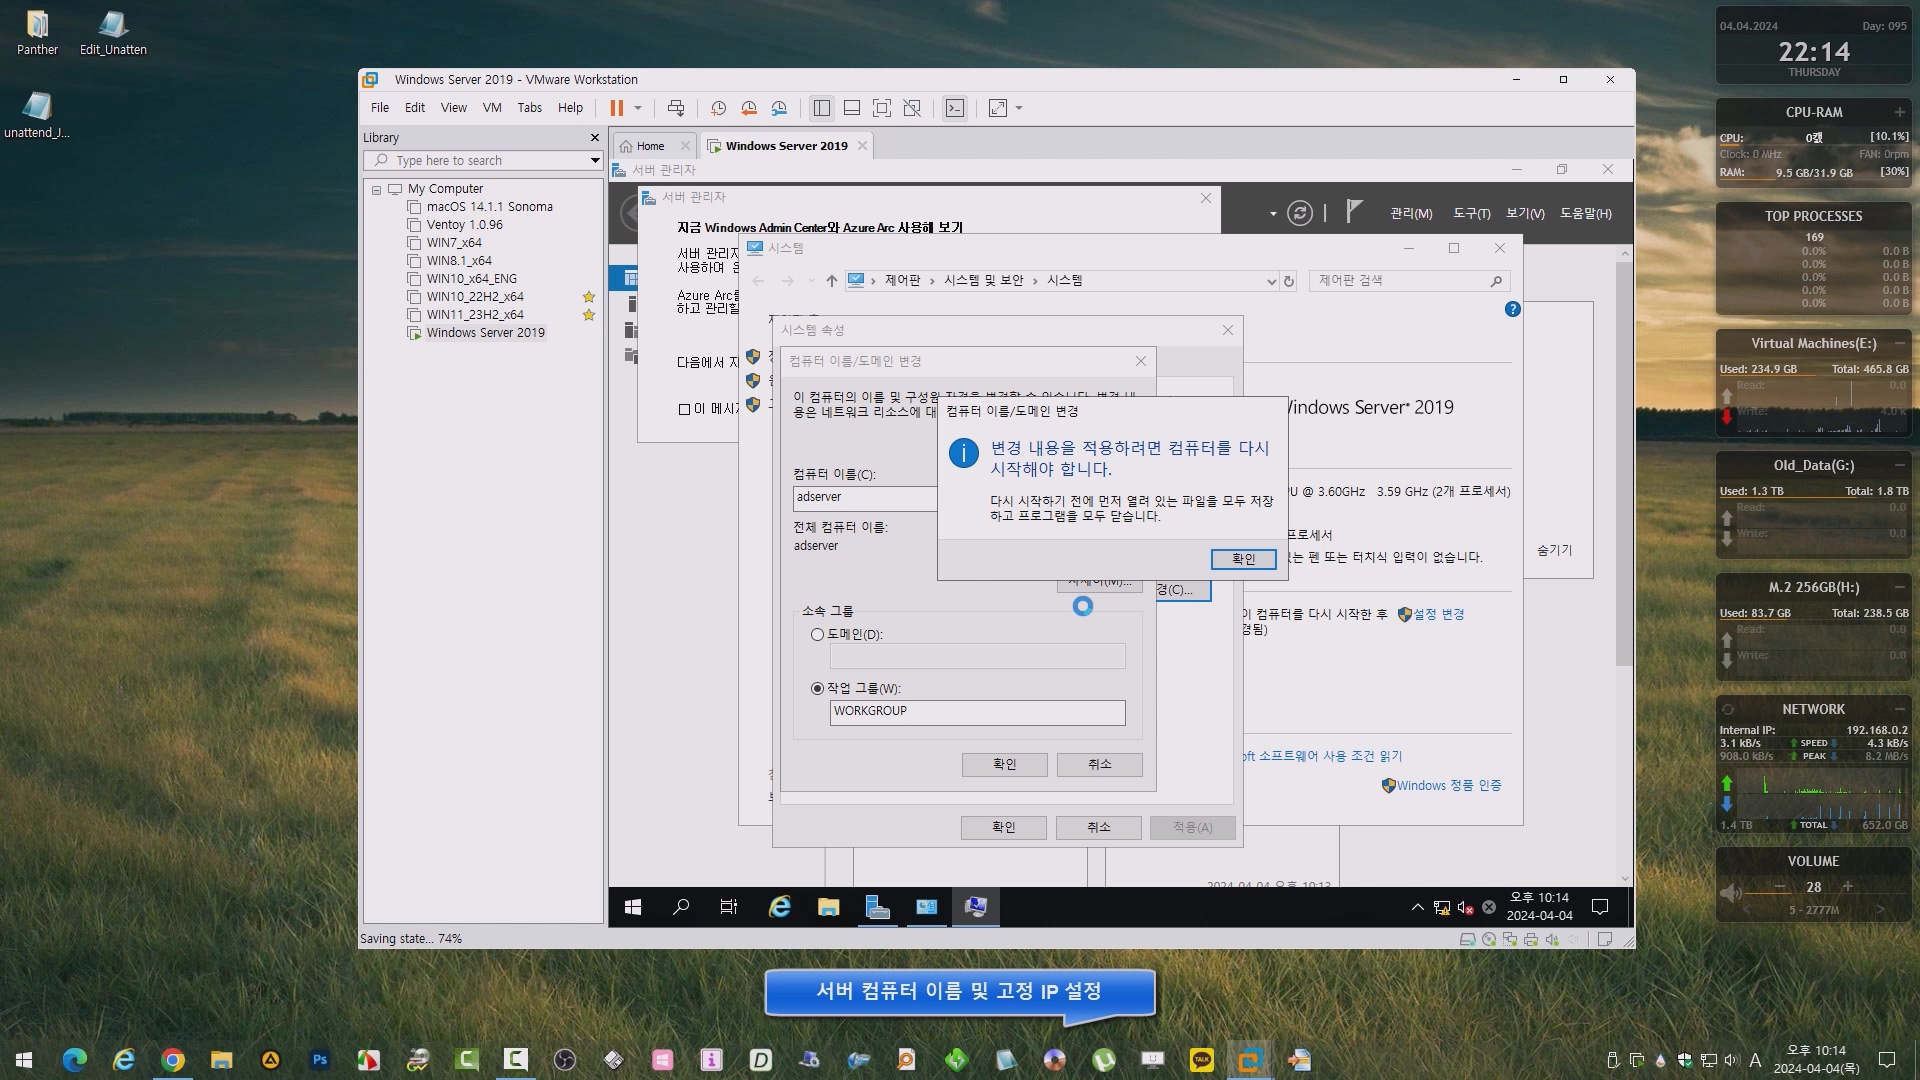
<!-- 컴퓨터 호스트 네임 변경 -->
<ComputerName>DEFAULT</ComputerName>
</component>
<component name="Microsoft-Windows-UnattendedJoin" processorArchitecture="amd64" publicKeyToken="31bf3856ad364e35" language="neutral" versionScope="nonSxS" xmlns:wcm="http://schemas.microsoft.com/WMIConfig/2002/State" xmlns:xsi="http://www.w3.org/2001/XMLSchema-instance">
<!-- AD 도메인 Join -->
<Identification>
<Credentials>
<Domain>adserver.com</Domain>
<Username>User1</Username>
<Password>123456</Password>
</Credentials>
<JoinDomain>adserver.com</JoinDomain>
</Identification>
</component>
</settings>
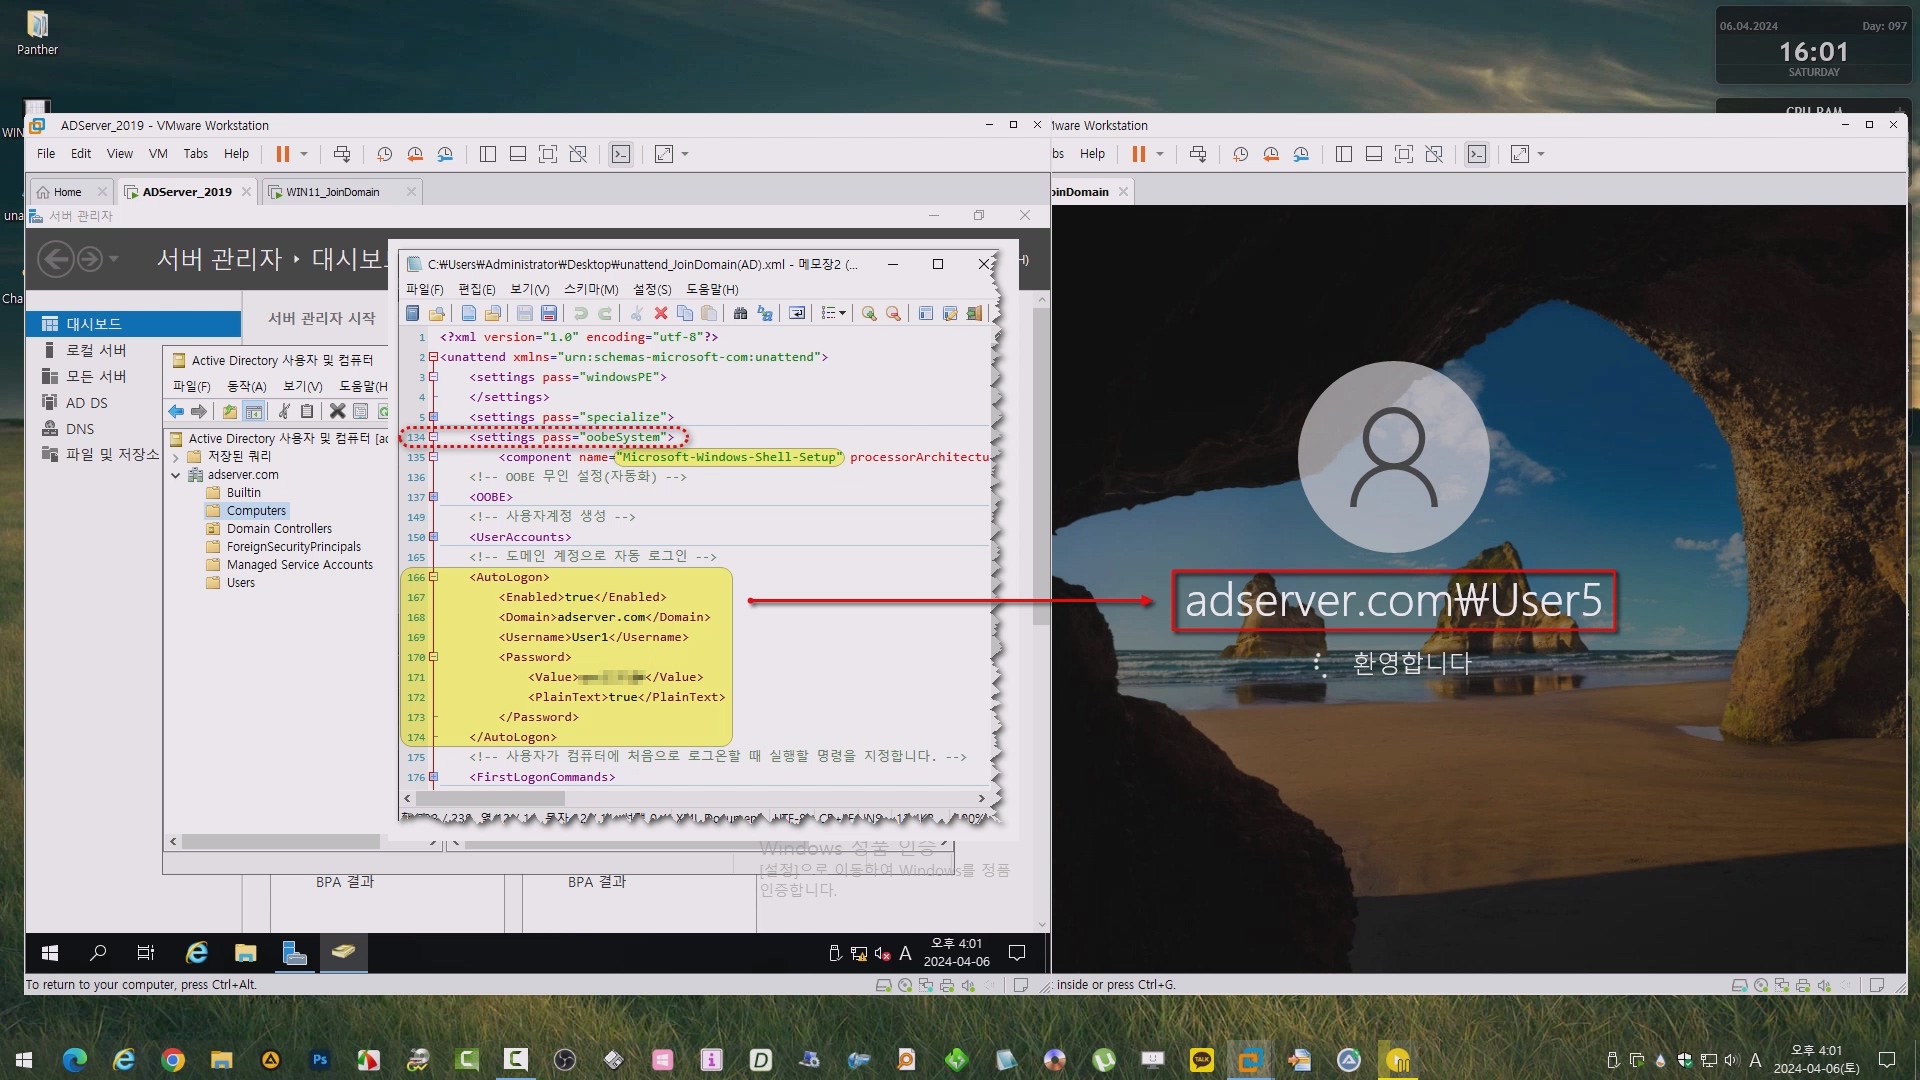
<settings pass="oobeSystem">
<component name="Microsoft-Windows-Shell-Setup" processorArchitecture="amd64" publicKeyToken="31bf3856ad364e35" language="neutral" versionScope="nonSxS" xmlns:wcm="http://schemas.microsoft.com/WMIConfig/2002/State" xmlns:xsi="http://www.w3.org/2001/XMLSchema-instance">
<!-- 도메인 계정으로 자동 로그인 -->
<AutoLogon>
<Enabled>true</Enabled>
<Domain>adserver.com</Domain>
<Username>User1</Username>
<Password>
<Value>123456</Value>
<PlainText>true</PlainText>
</Password>
</AutoLogon>
</component>
</settings>
<cpi:offlineImage cpi:source="" xmlns:cpi="urn:schemas-microsoft-com:cpi" />
</unattend>■ 개선된 버전 : ChangeUnattend(2024-04-09) └▶ 입력한 값만 변경됩니다. └▶ 미입력 항목은 기존값 유지.
■ 동영상 제목 클릭 후 전체화면( 1080P )시청 가능 합니다.
VIDEO
정보가 도움이 되었다면 아래 링크로 커피를 후원 해주세요. ^^